St Patrick’s Day parties feel better when every corner works together. Guests notice when decor feels thought-through, not random. The goal is balance. A mix of green tones, handmade details, and simple layers that guide the eye around the space. These ideas focus on affordable pieces, easy DIY projects, and flexible setups that work in homes, apartments, or small venues. Each idea helps create a party setup that feels finished without feeling crowded or forced.
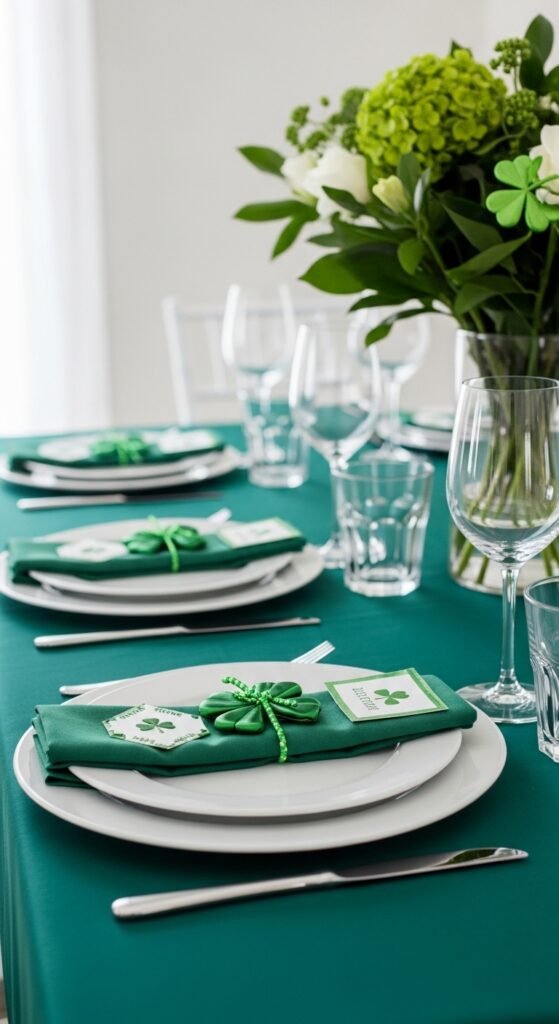
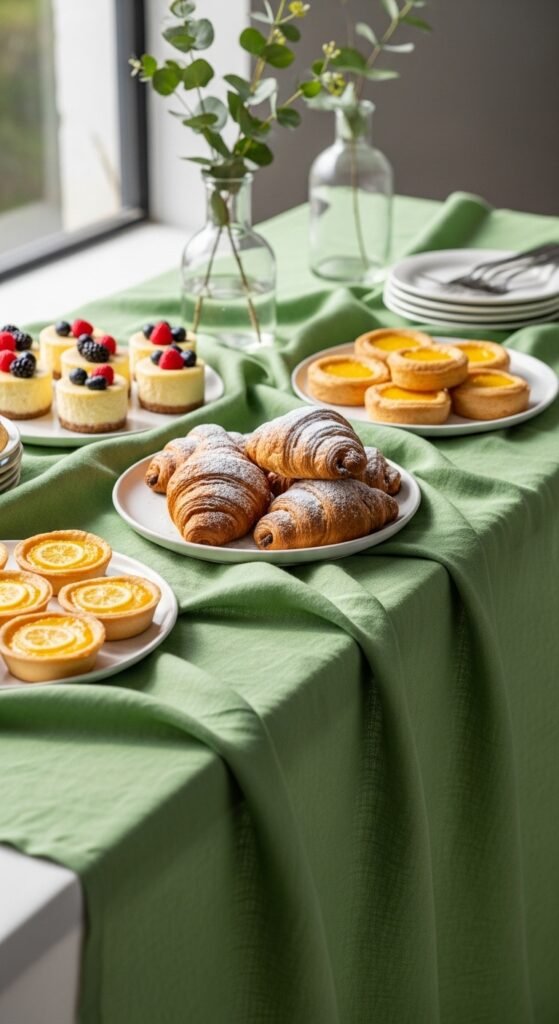
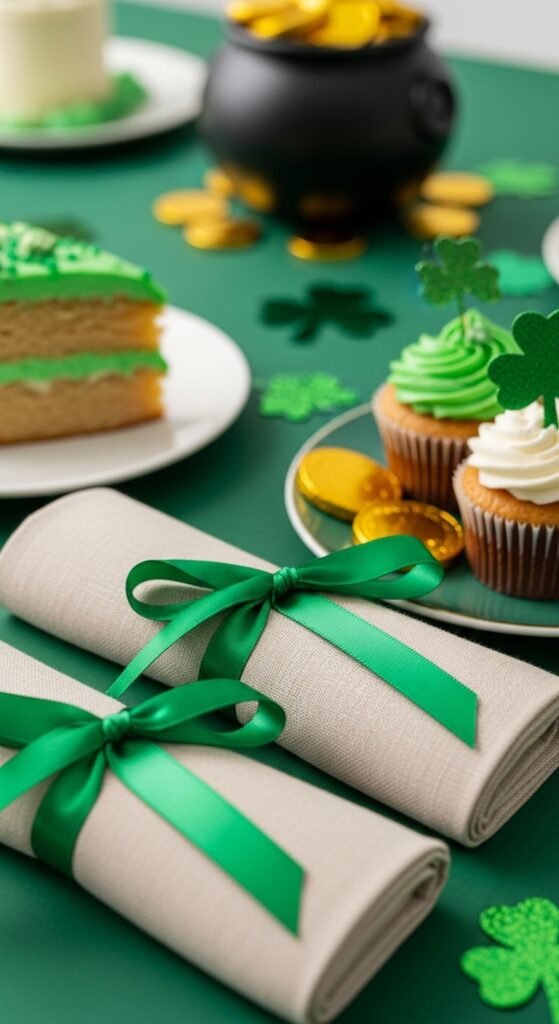
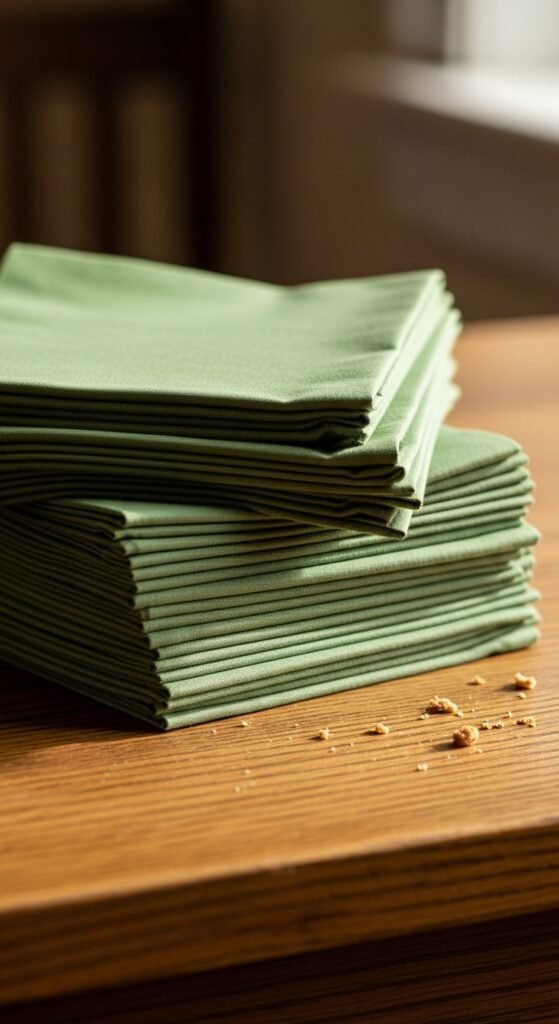
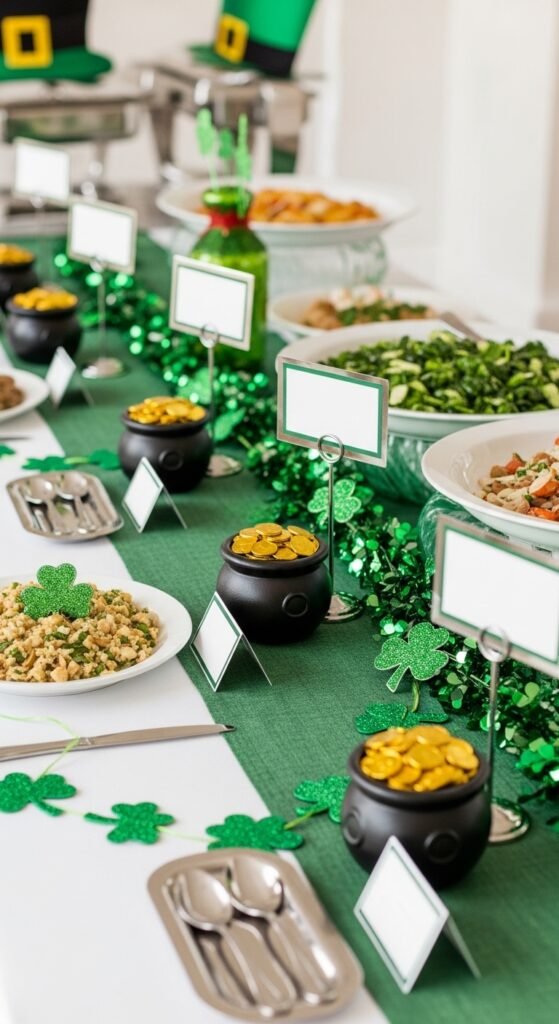
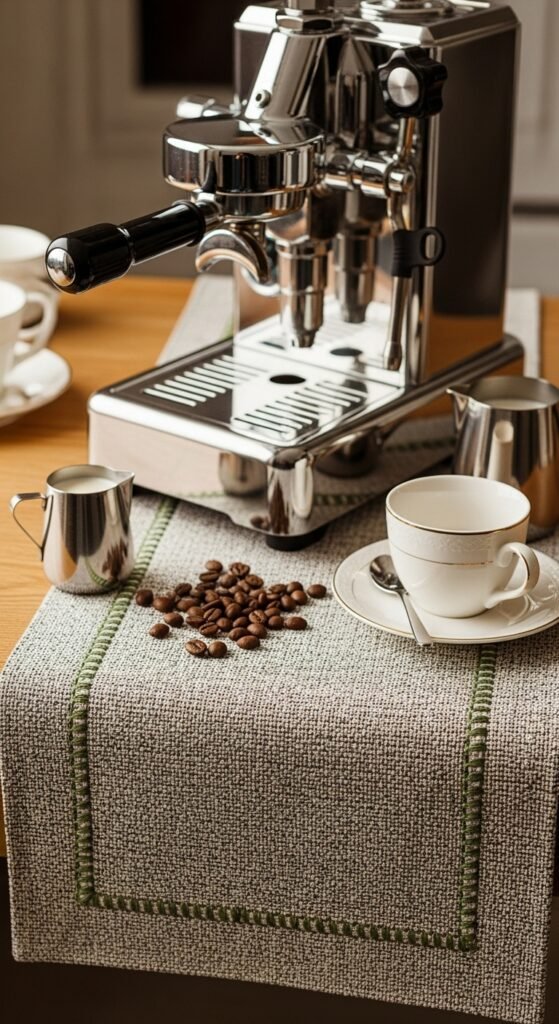
1. Layered Green Table Linens
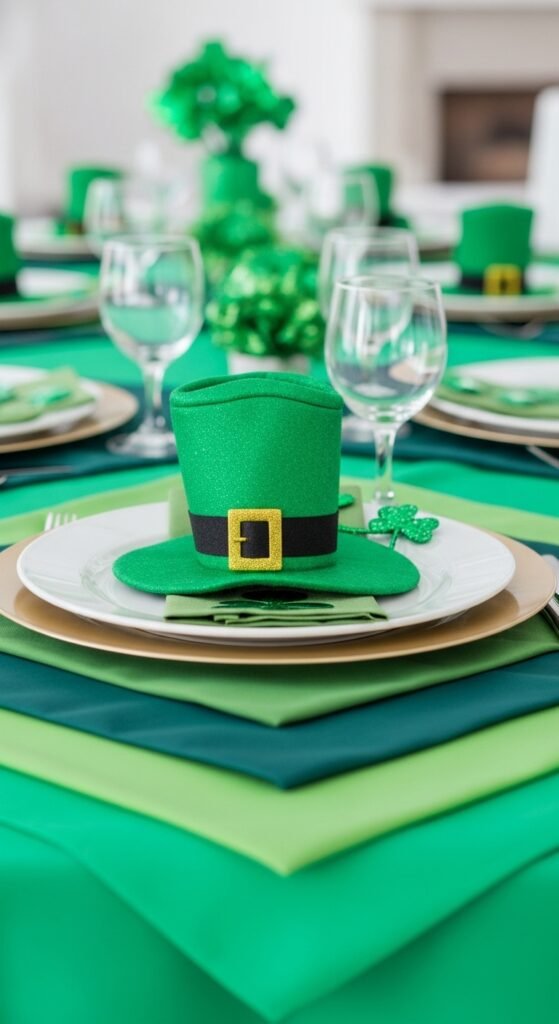
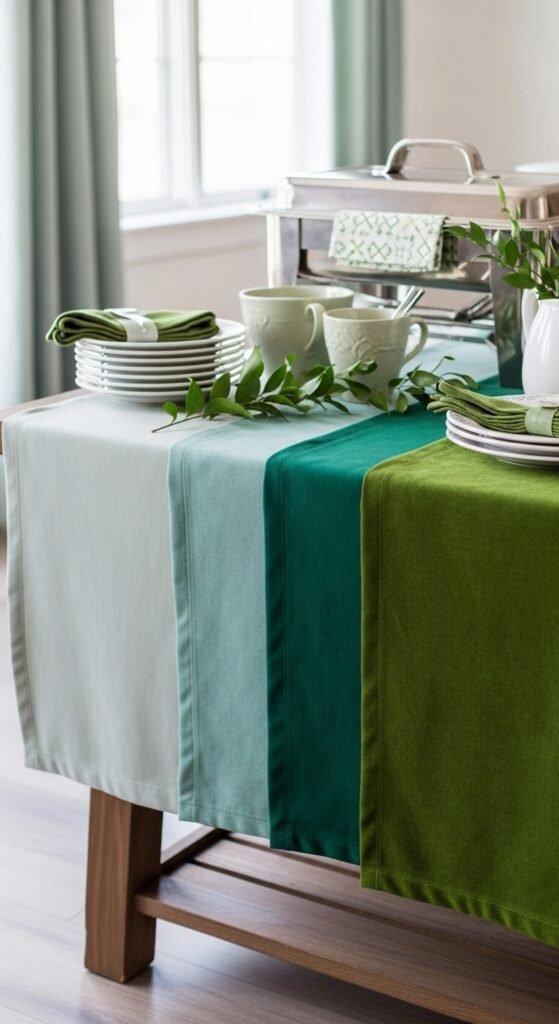
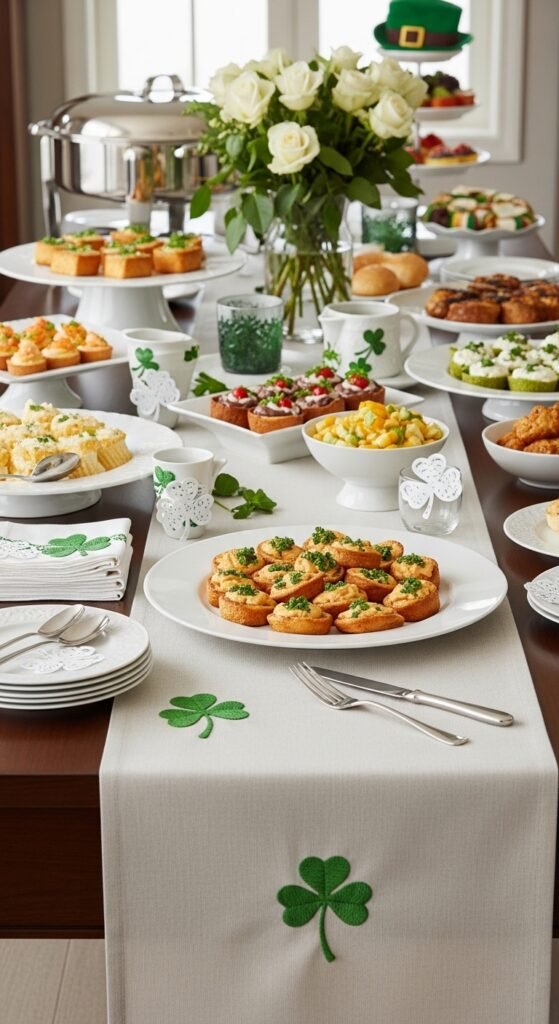
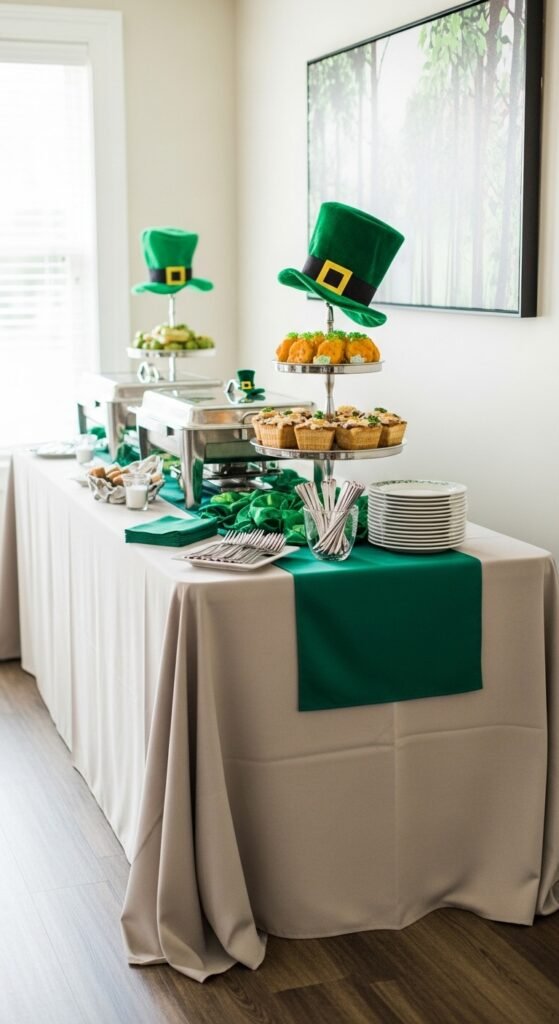
Start with one base tablecloth in a soft green tone. Add a runner in a darker shade. This creates depth without adding clutter. If you don’t own specialty linens, use fabric from a craft store or thrifted scarves. Fold them lengthwise for a clean look. Keep wrinkles relaxed rather than pressed. That makes the table feel welcoming. Pair the layers with simple white plates so the colors stand out. This setup works for food tables, gift tables, or even a sideboard. It’s easy to adjust for size. Small tables only need a runner. Large tables benefit from both layers. When the party ends, everything folds flat for storage.
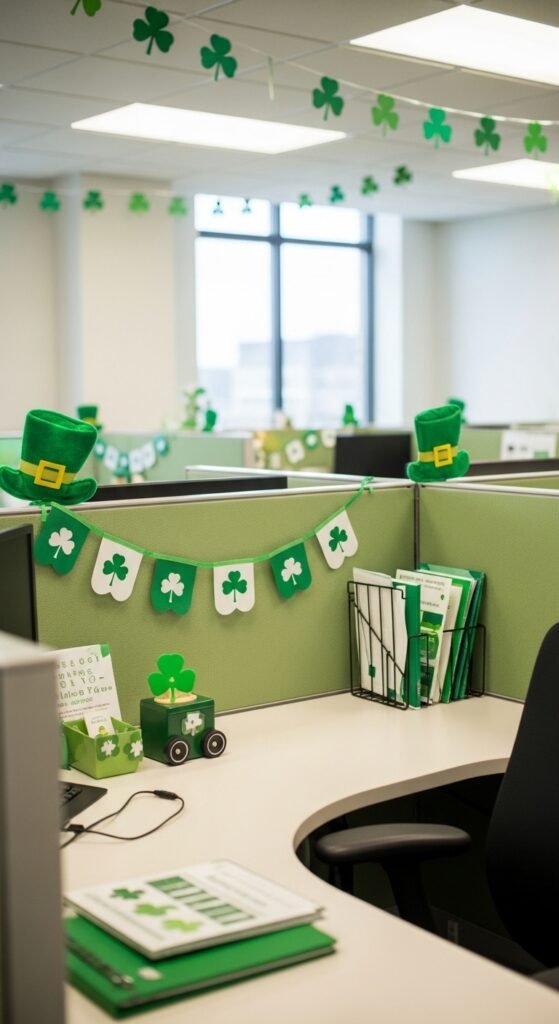
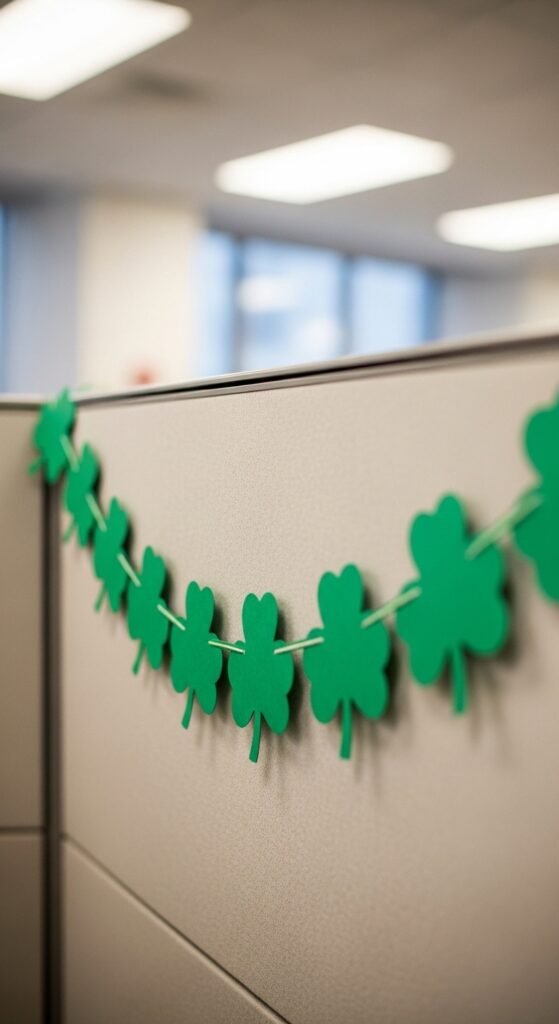
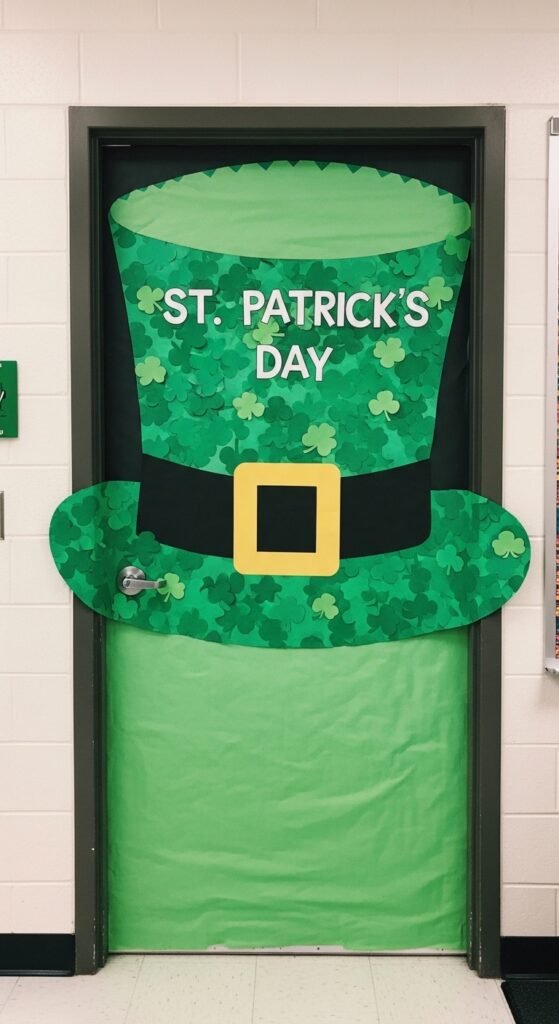
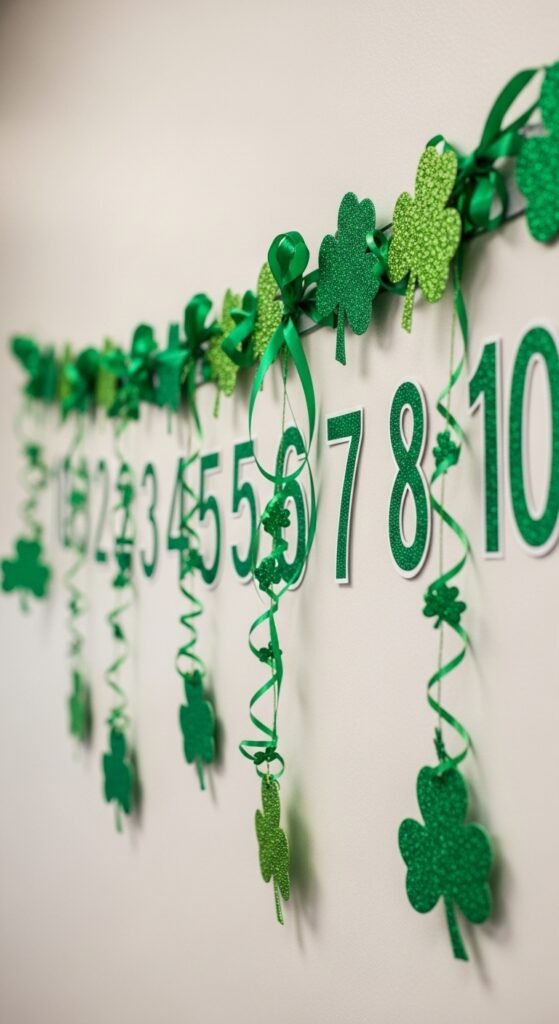
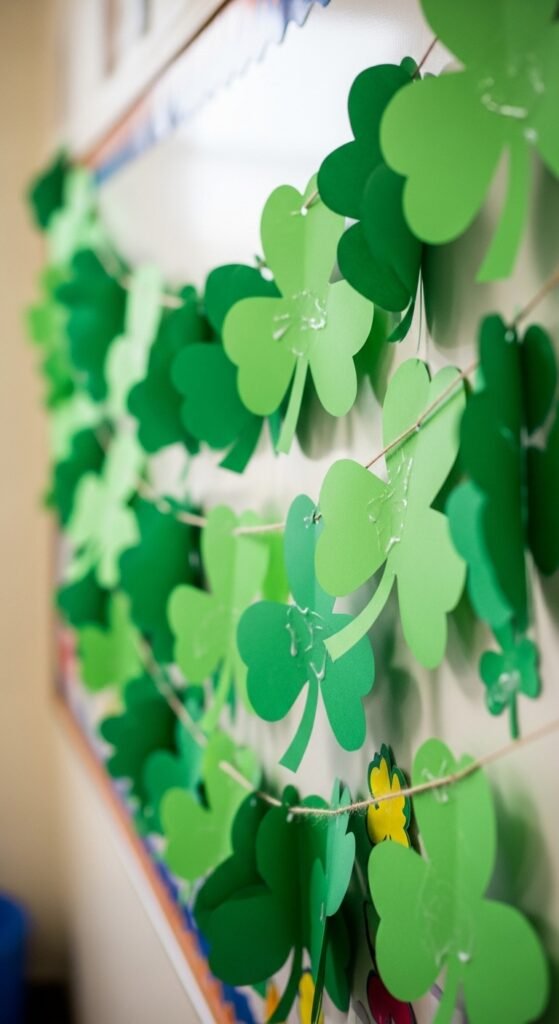
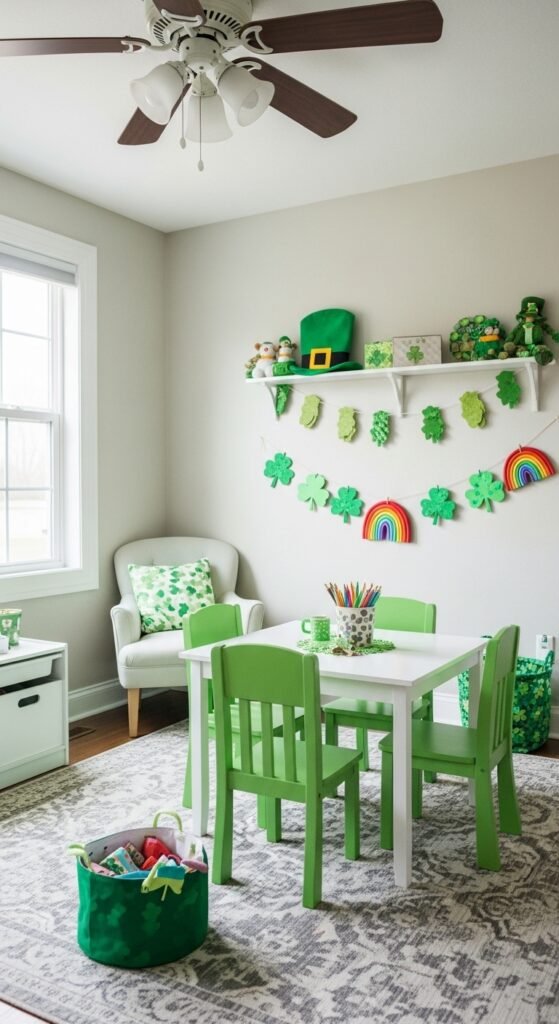
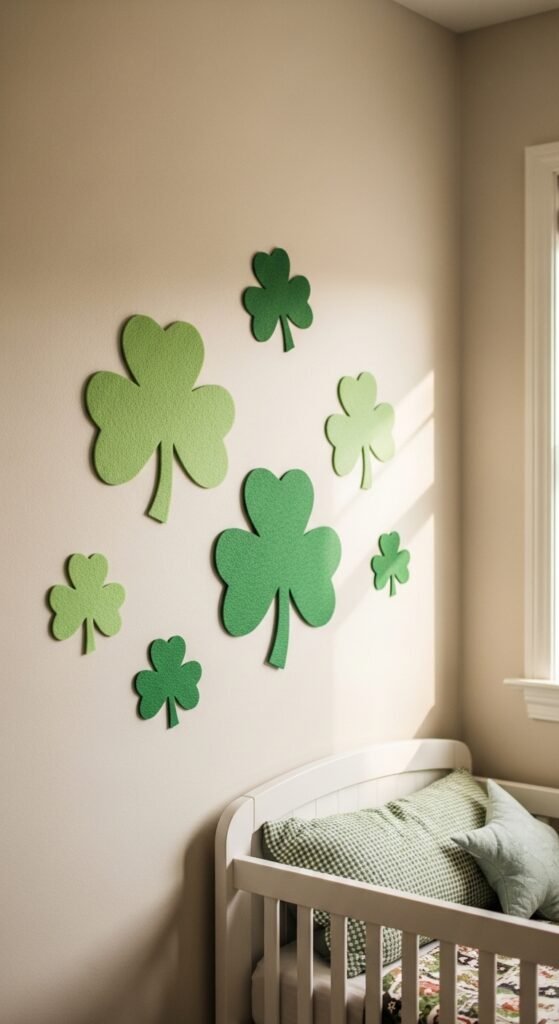
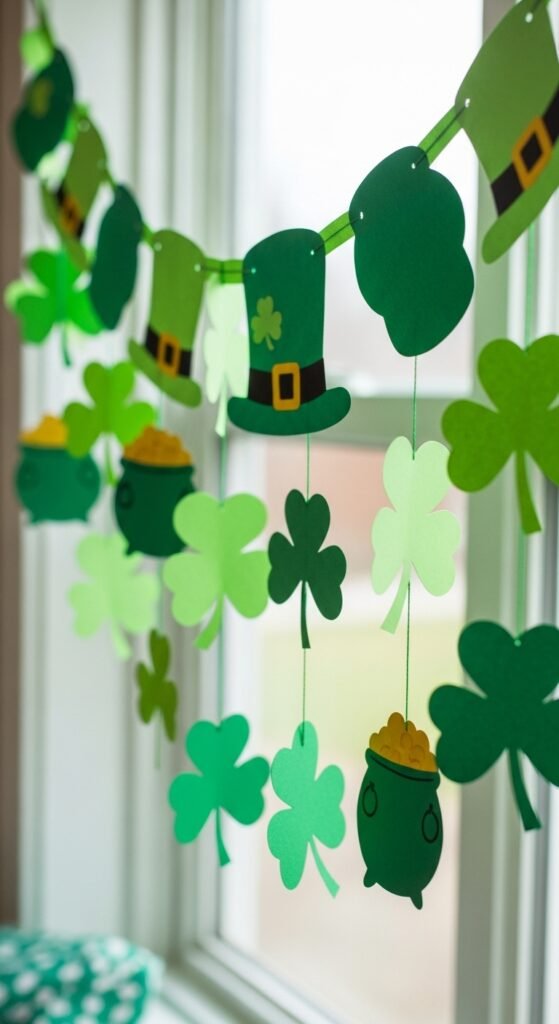
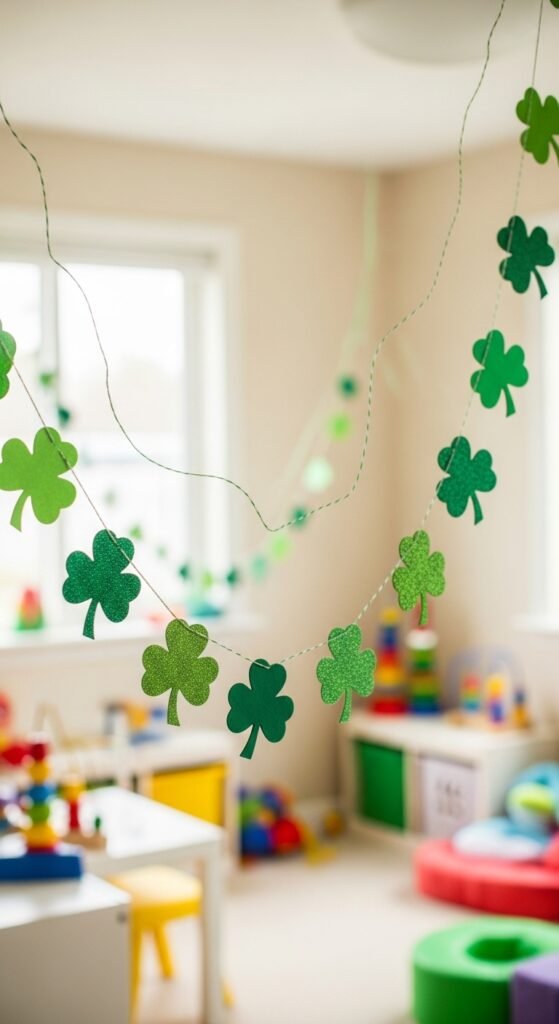
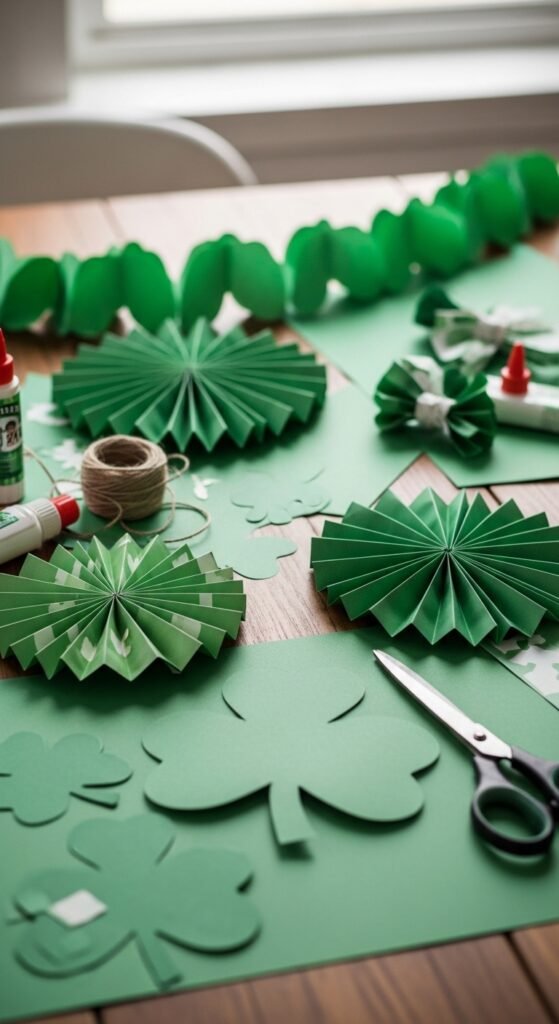
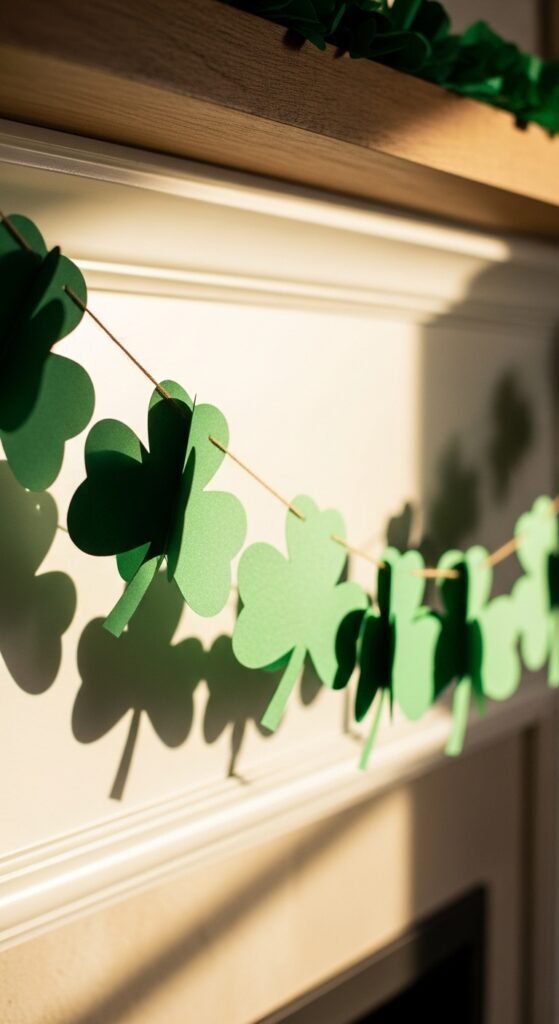
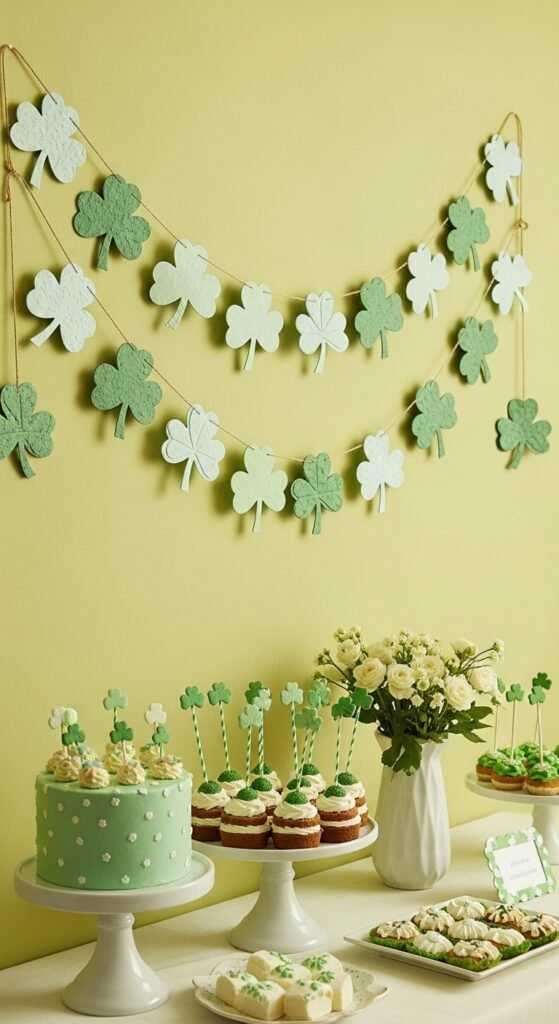
2. Shamrock Garland Across Doorways
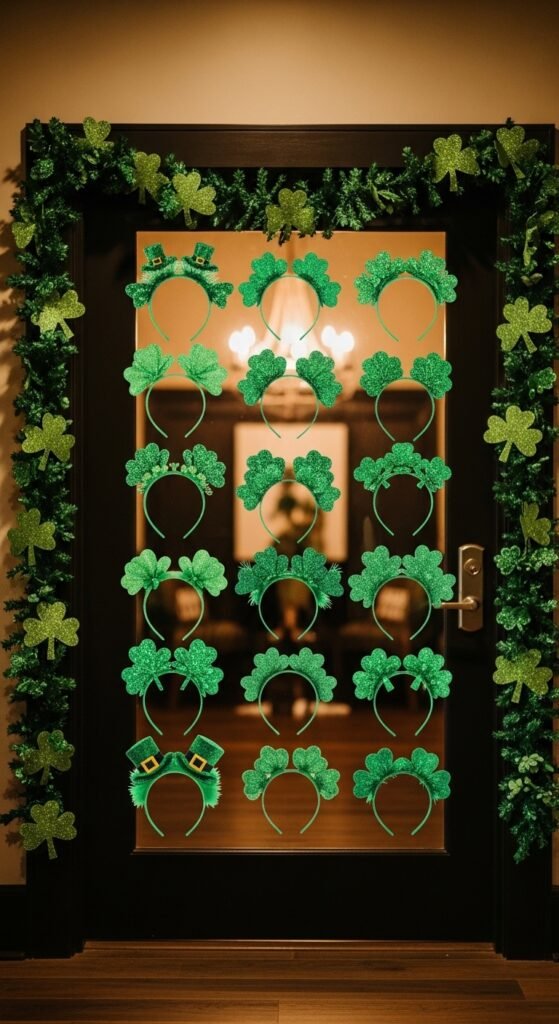
Doorways help guide guests through your space. A shamrock garland instantly sets the theme. Cut shapes from green paper or felt. String them with twine or ribbon. Keep spacing even so it feels calm. Avoid packing them too close. If time is short, use faux greenery garlands and tuck in paper shamrocks. This works well between rooms or over a main entry. It also photographs well without overpowering faces. Budget tip: reuse the garland year after year by storing it flat in a folder.
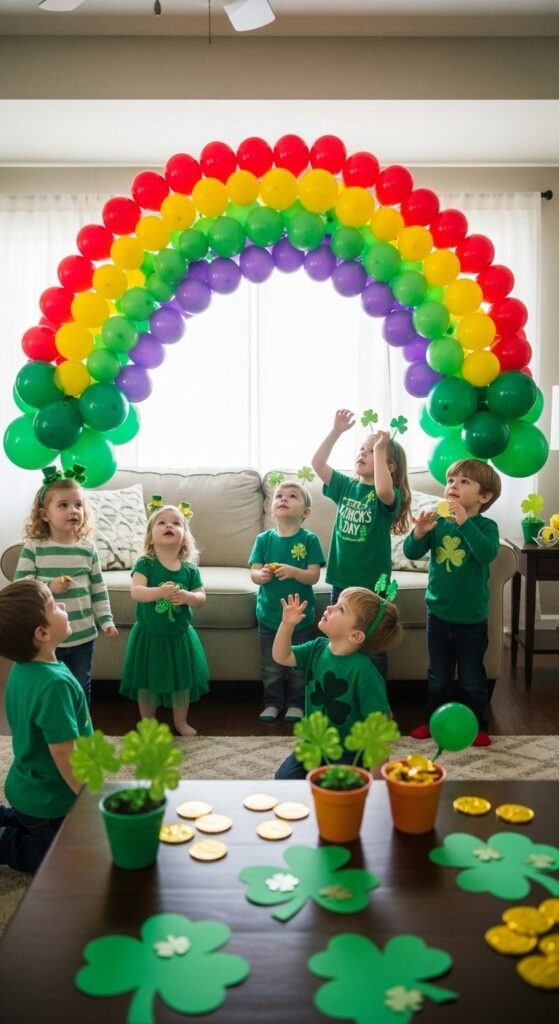
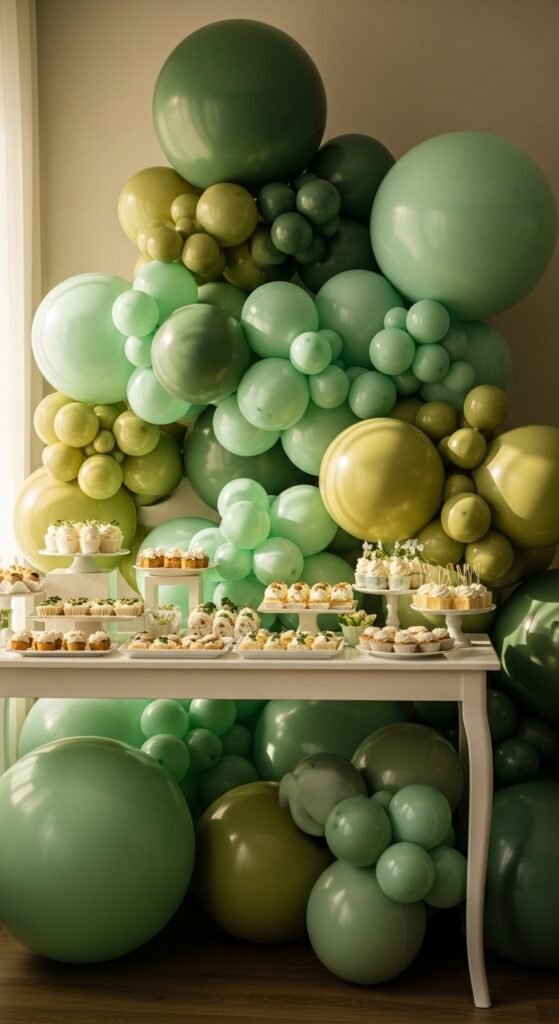
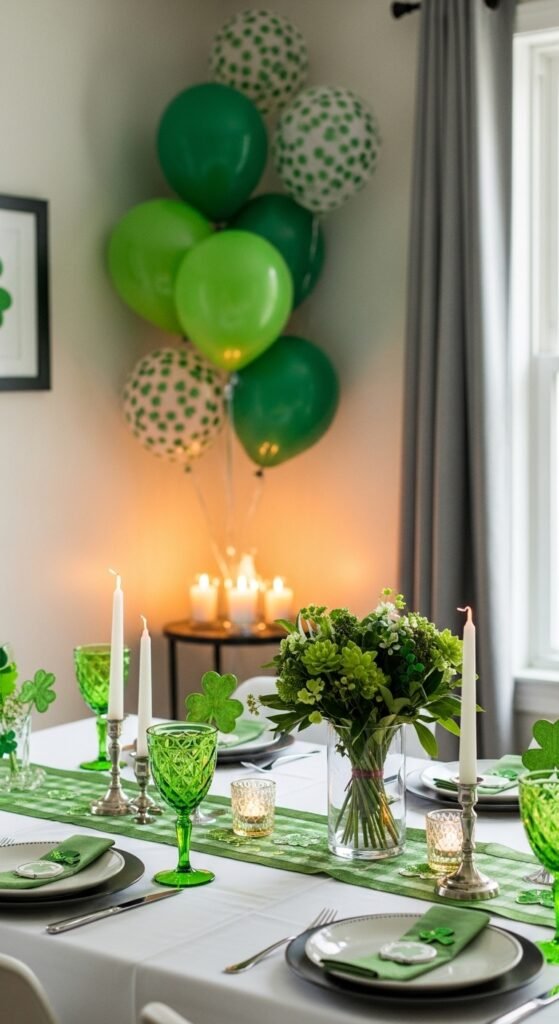
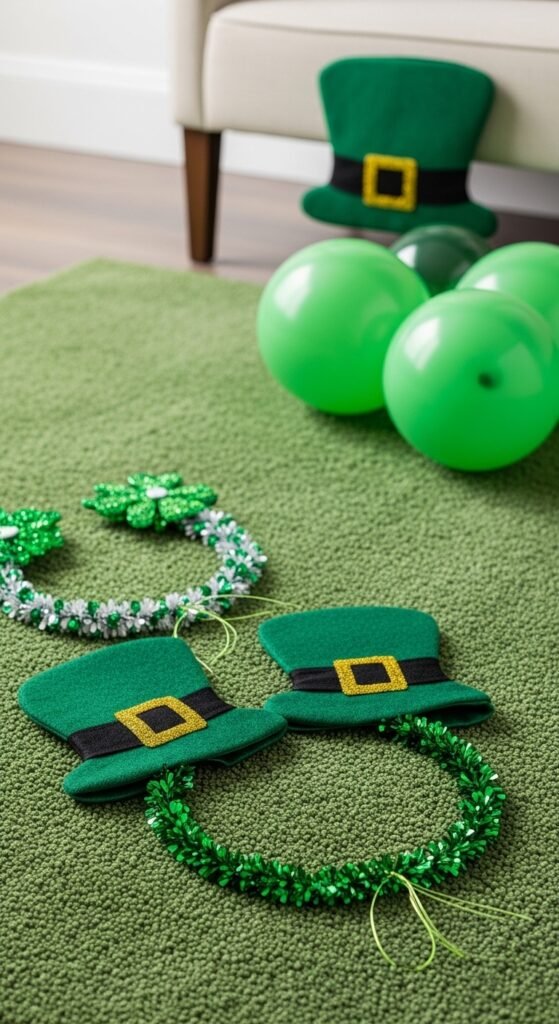
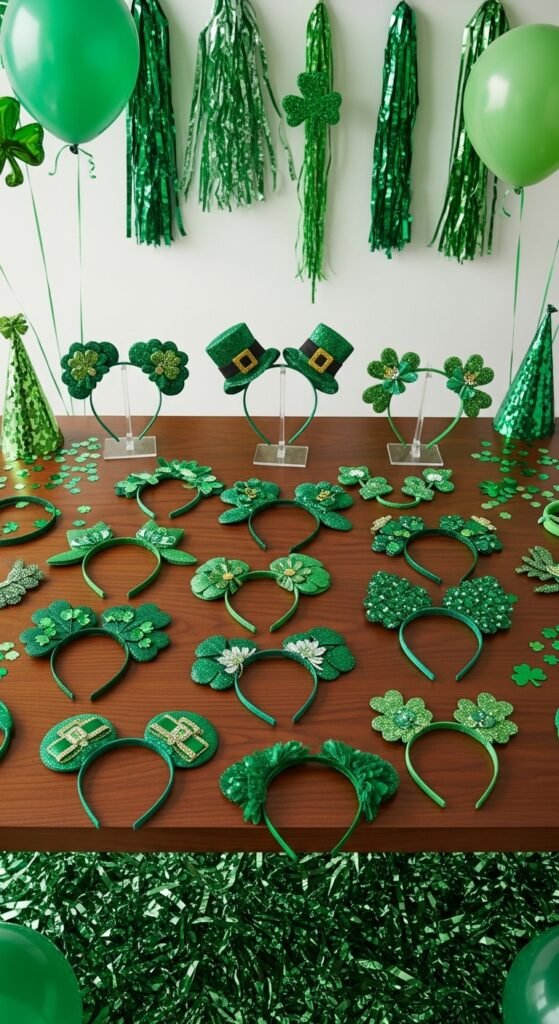
3. Mixed Green Balloon Cluster

Balloon clusters fill empty corners fast. Use three to four green shades for balance. Mix matte and slightly shiny finishes. Stick to small and medium sizes. Oversized balloons can crowd the room. Attach clusters to command hooks or balloon tape. Place them near snack tables or behind seating. This creates visual anchors. For savings, buy a mixed pack online and skip helium. Air-filled balloons last longer and are easier to manage.
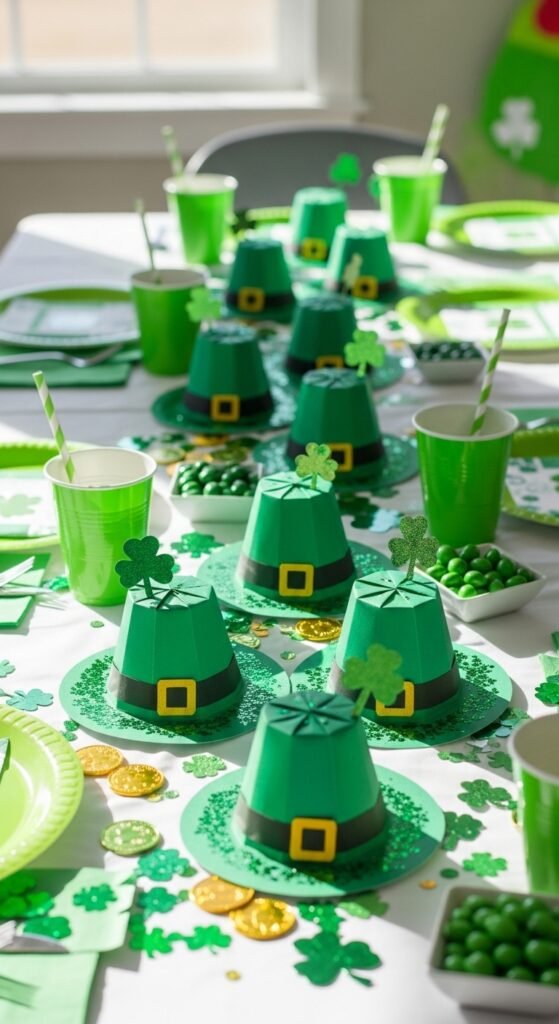
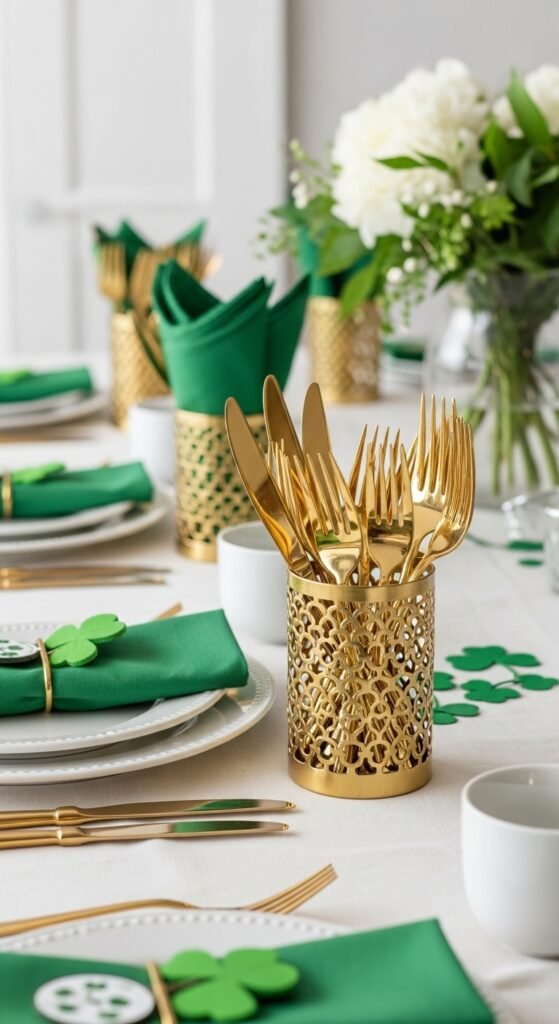
4. Simple Gold Accent Trays
Gold adds warmth when used lightly. Choose small trays to group items like napkins, favors, or candles. Thrift stores often carry metal trays that shine with a quick polish. If gold isn’t available, spray paint works. Keep the trays limited so they act as highlights rather than distractions. Place one per table or surface. This repetition helps the space feel tied together.
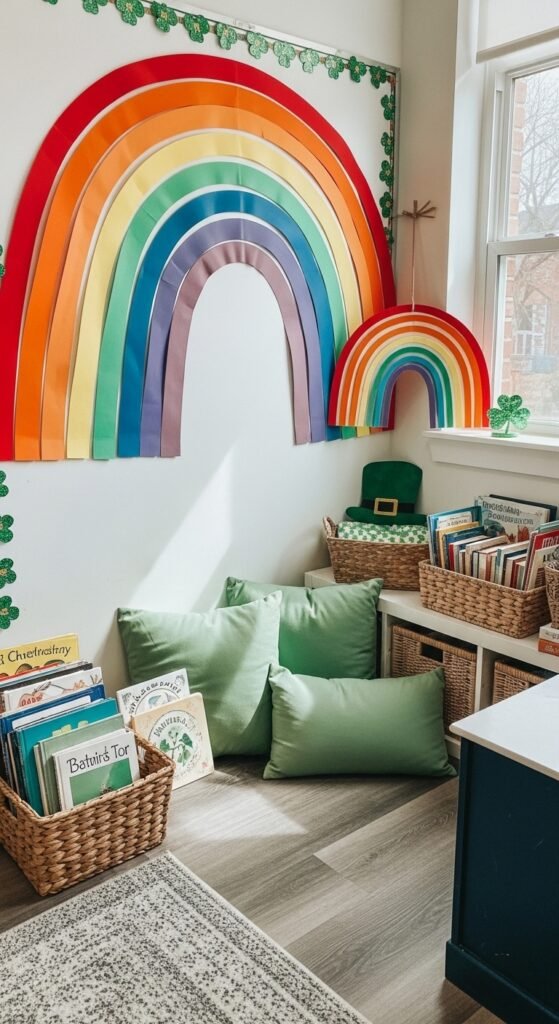
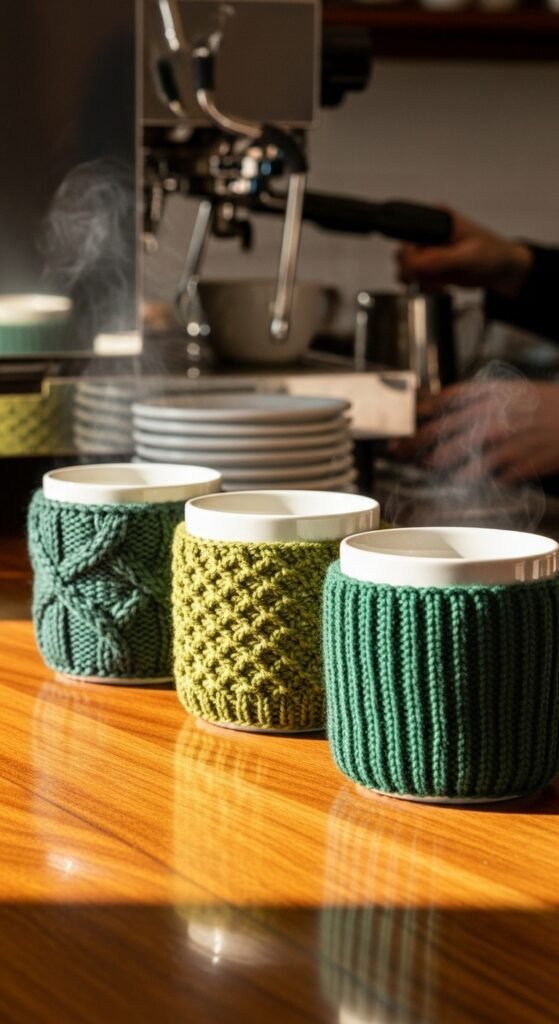
5. Cozy Green Throw Pillows
Soft decor matters. Swap everyday pillows with green covers or pillowcases. Mix textures like knit and cotton. This works well on couches and chairs where guests gather. If you don’t want to buy new covers, wrap green fabric around existing pillows and tie the back with ribbon. It’s quick and reusable. The room feels warmer without extra effort.
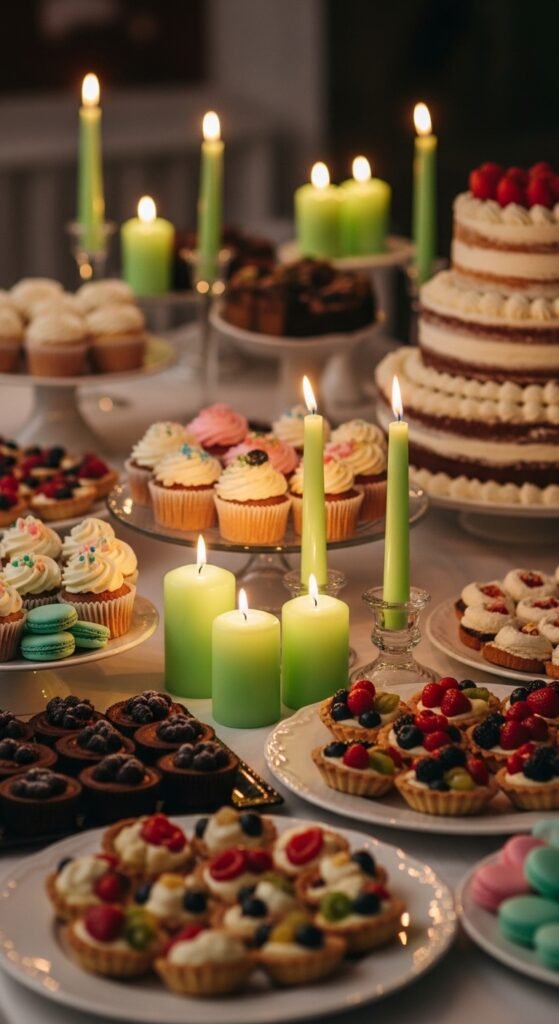
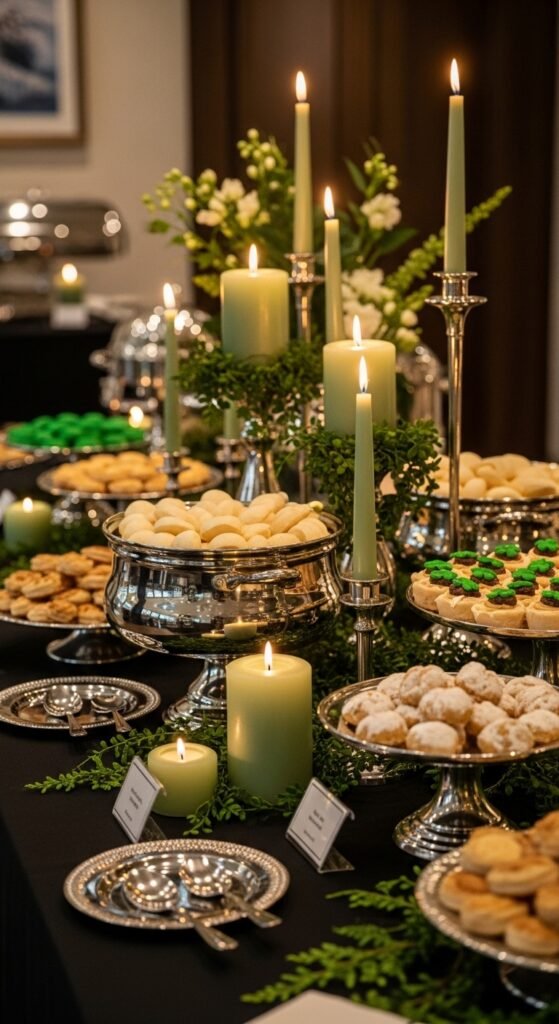
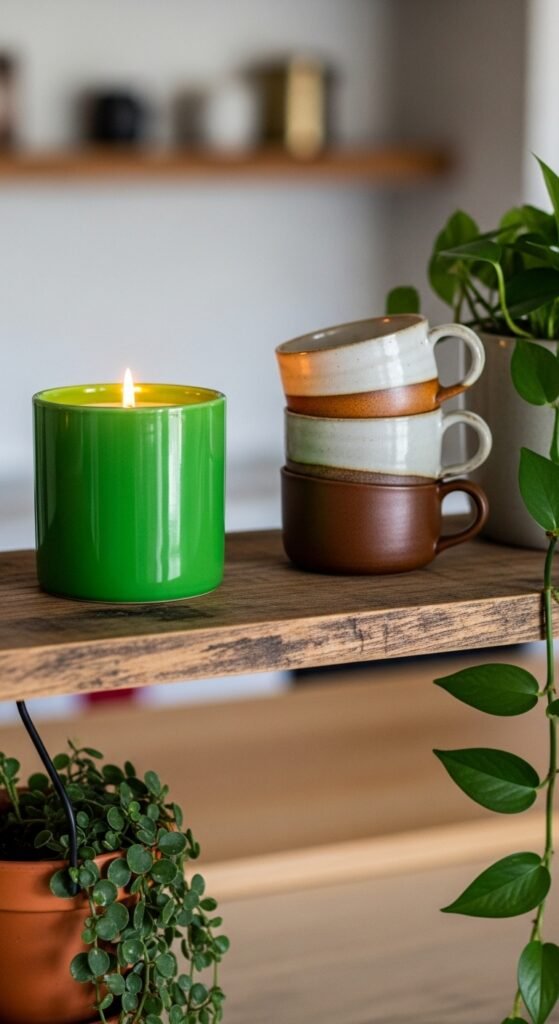
6. Candle Clusters in Green Holders
Use three candles per cluster for balance. Choose green glass holders or paint clear ones. Place them on tables, shelves, or window ledges. Keep heights varied. This adds movement without noise. Battery candles work well for busy spaces. They still give a soft glow and are safer around food and kids.
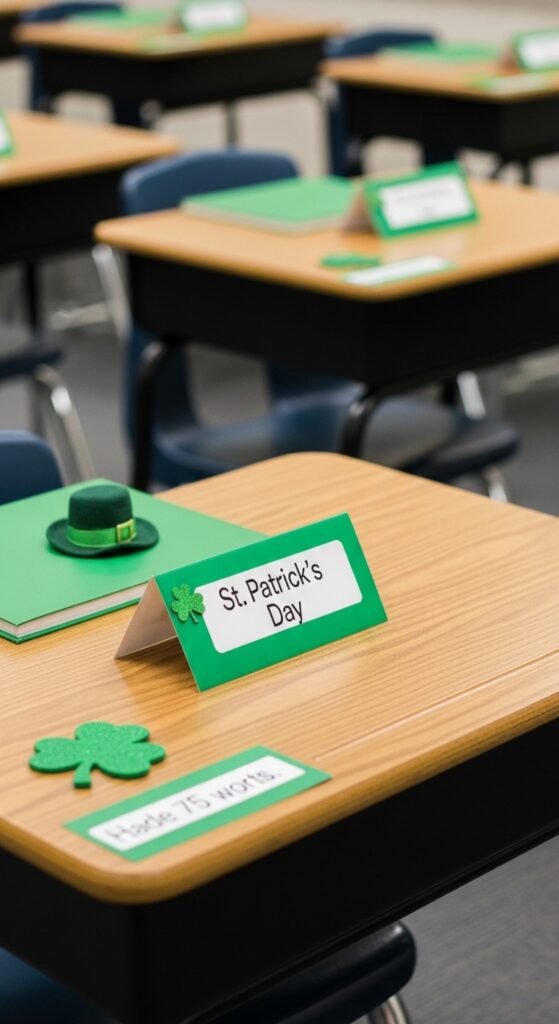
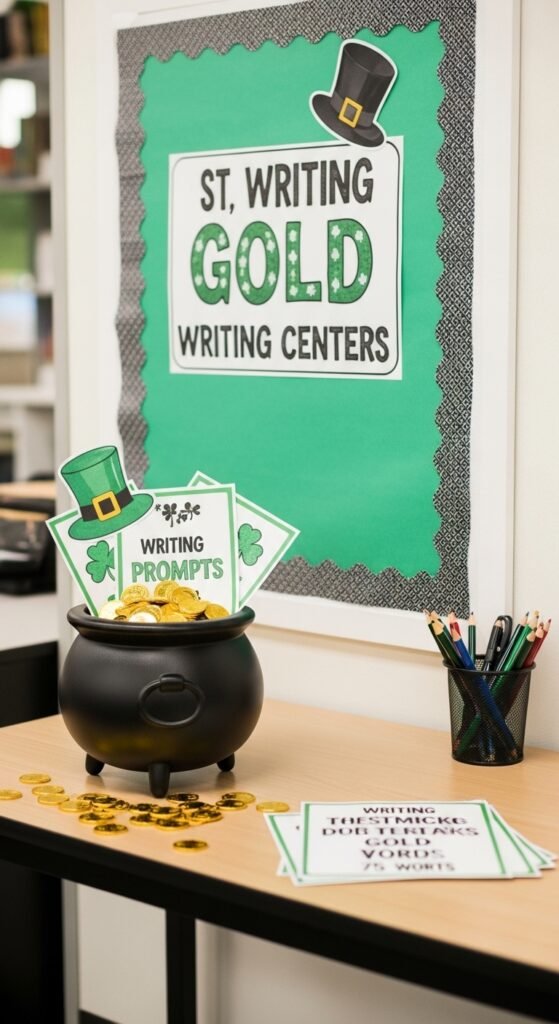
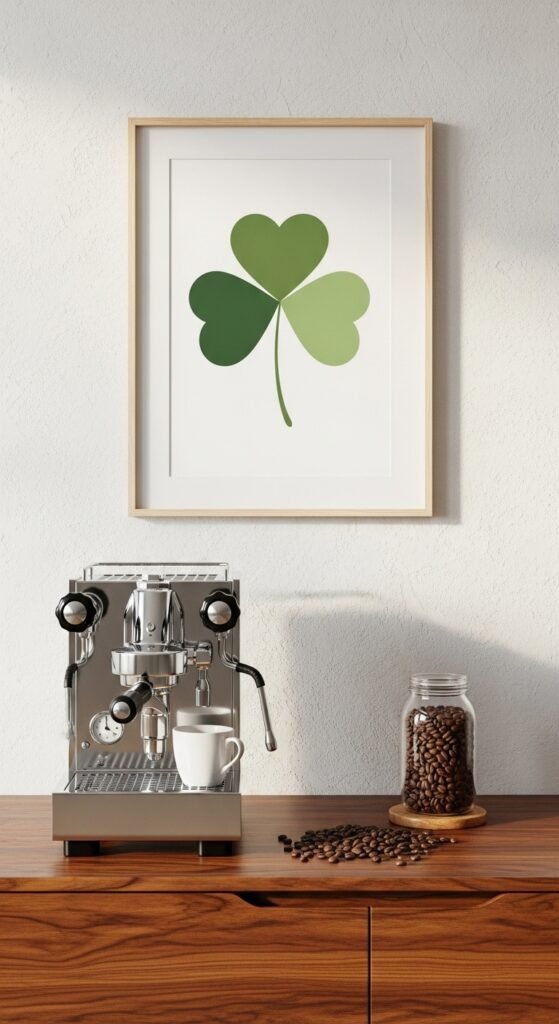
7. Themed Entry Table Setup
An entry table sets expectations. Use a small table with a green cloth, a bowl of party favors, and a decorative piece like a shamrock plant. Keep it simple. One focal item is enough. This area helps guests settle in and signals the party theme right away.
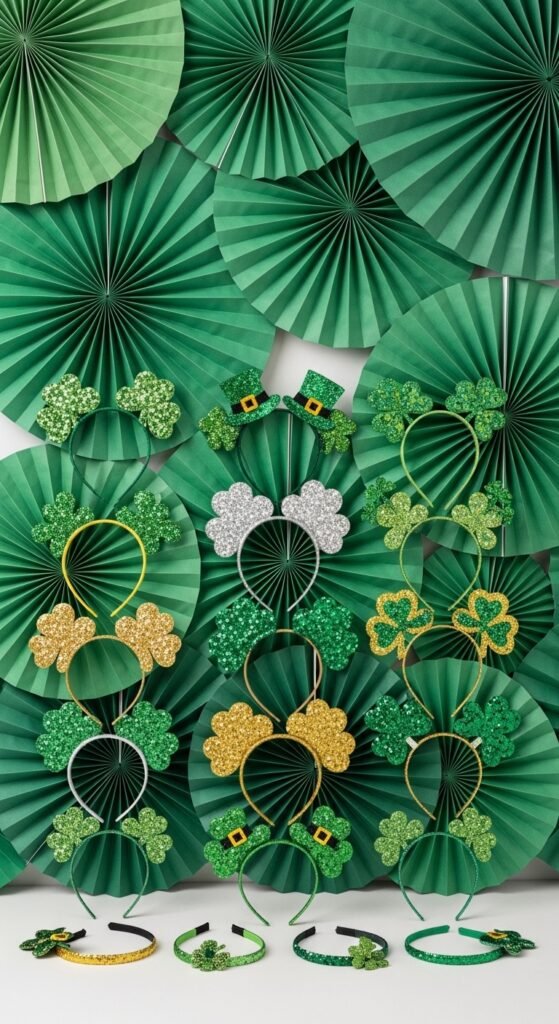
8. Paper Fan Wall Accent
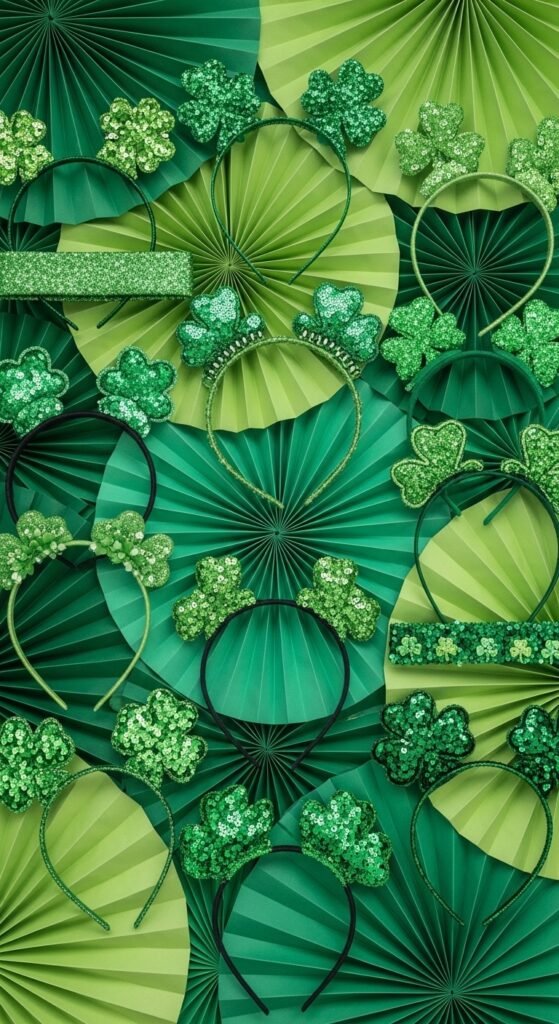
Paper fans are lightweight and easy to hang. Choose two green tones and one neutral. Arrange them in a loose cluster rather than a strict grid. This keeps the wall relaxed. Place behind a snack table or seating area. When the party ends, fold them flat and store in a box.
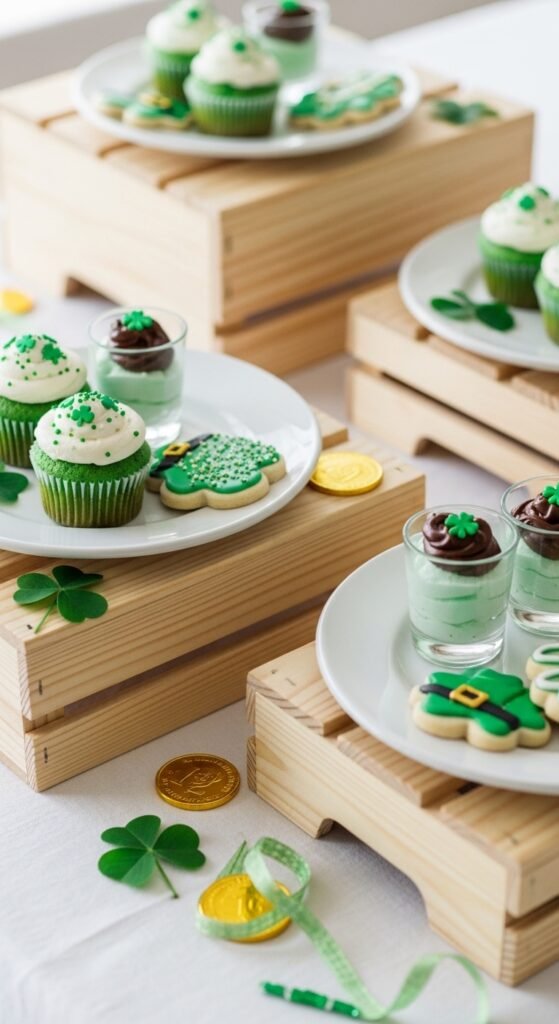
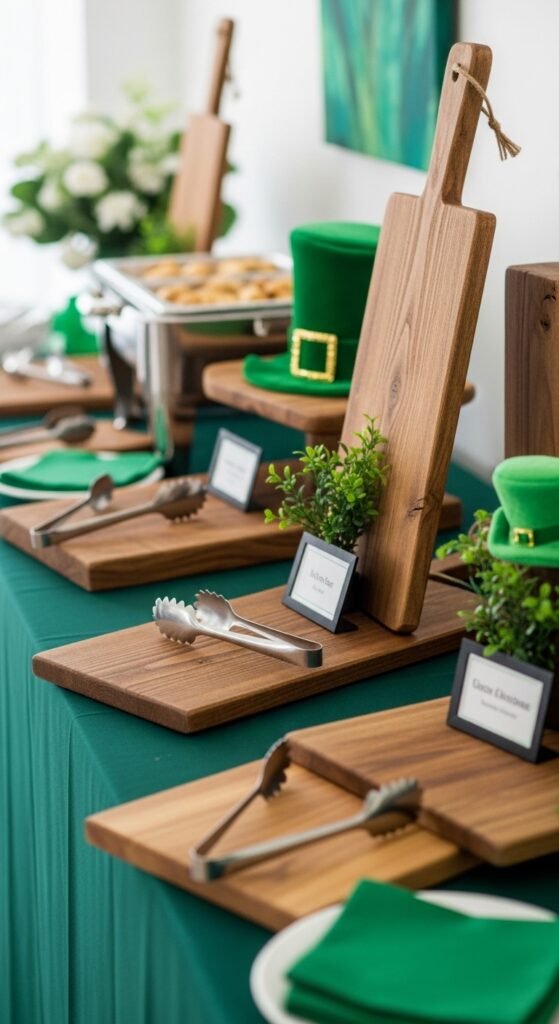
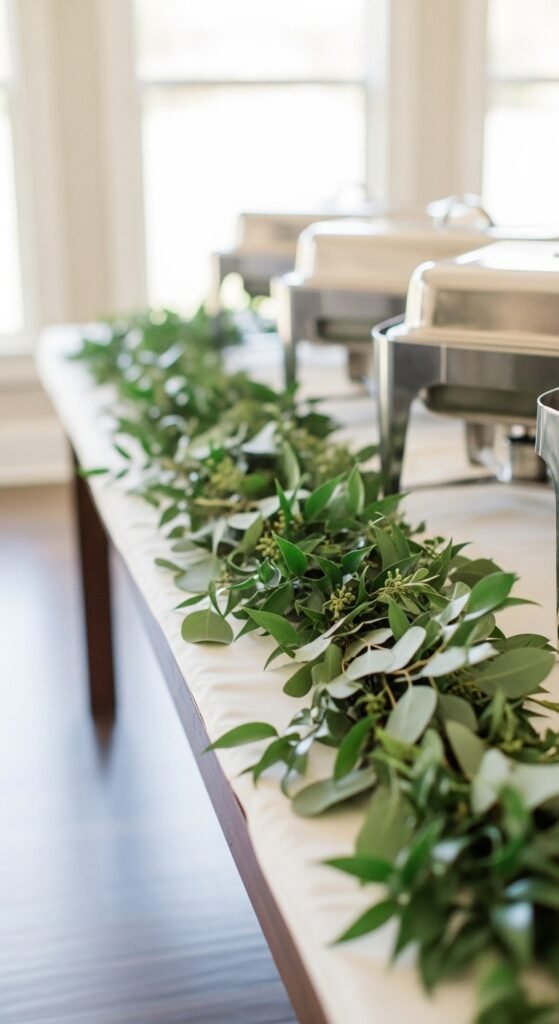
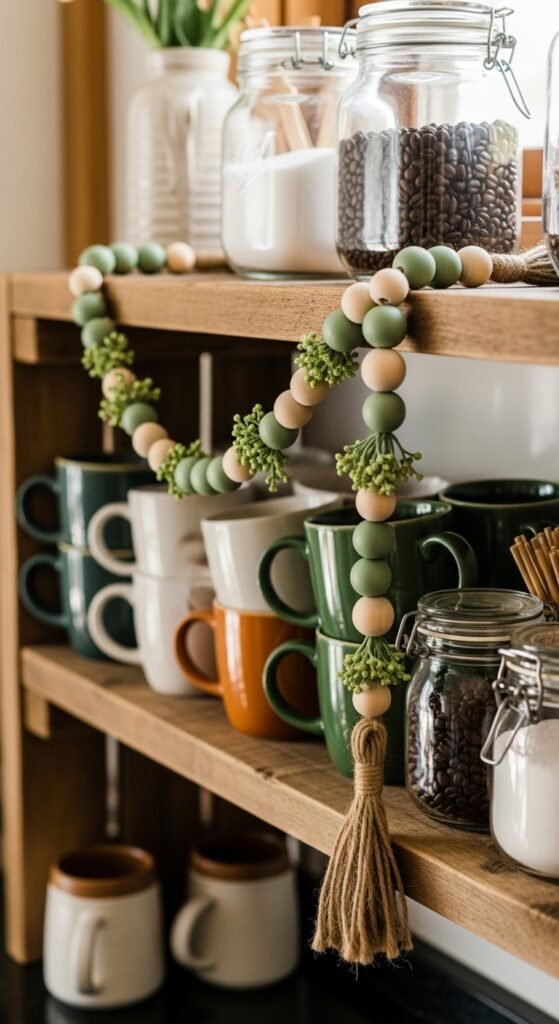
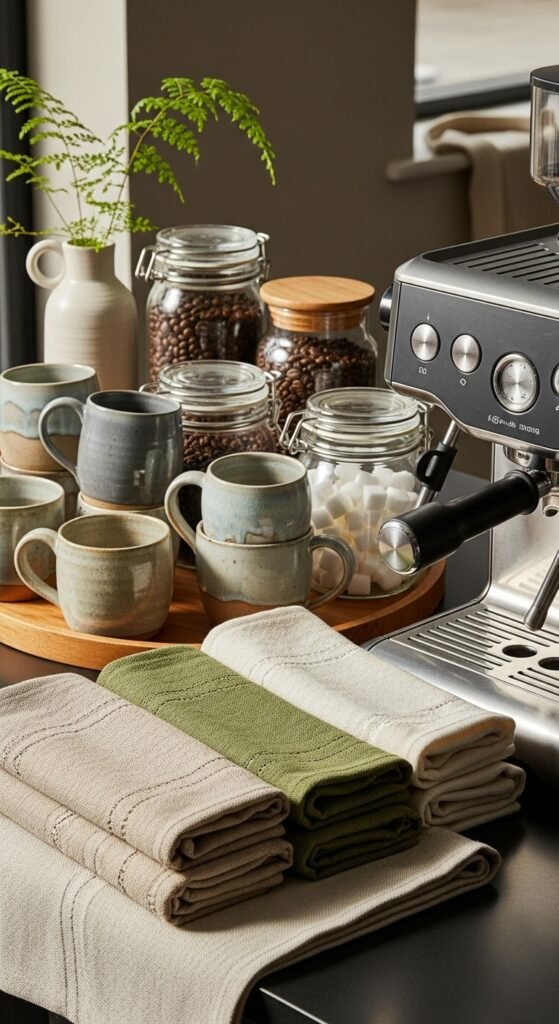
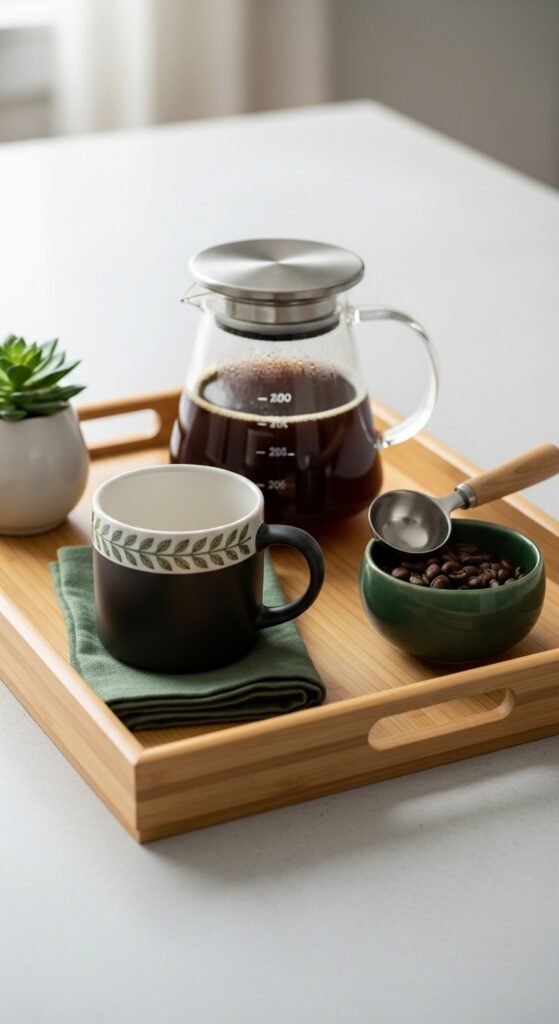
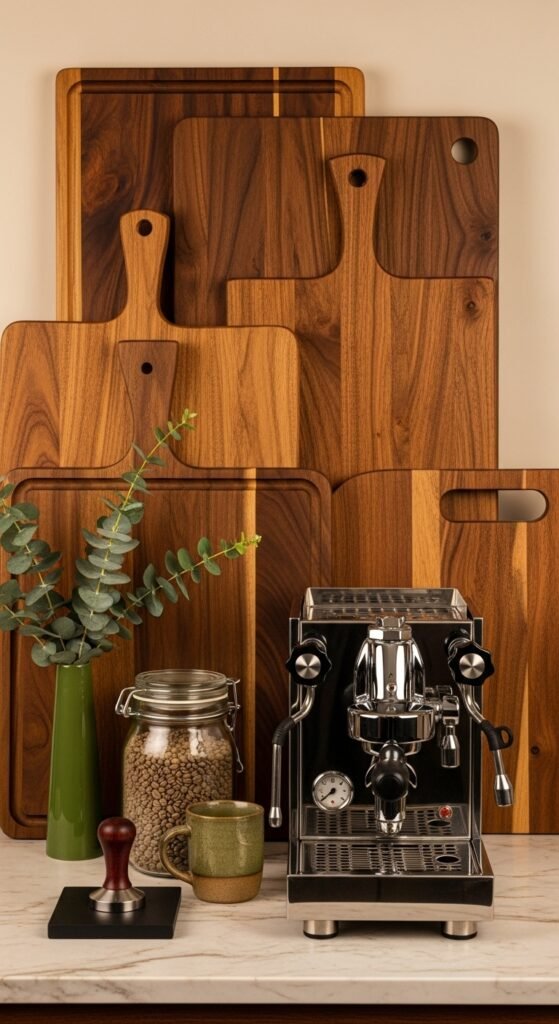
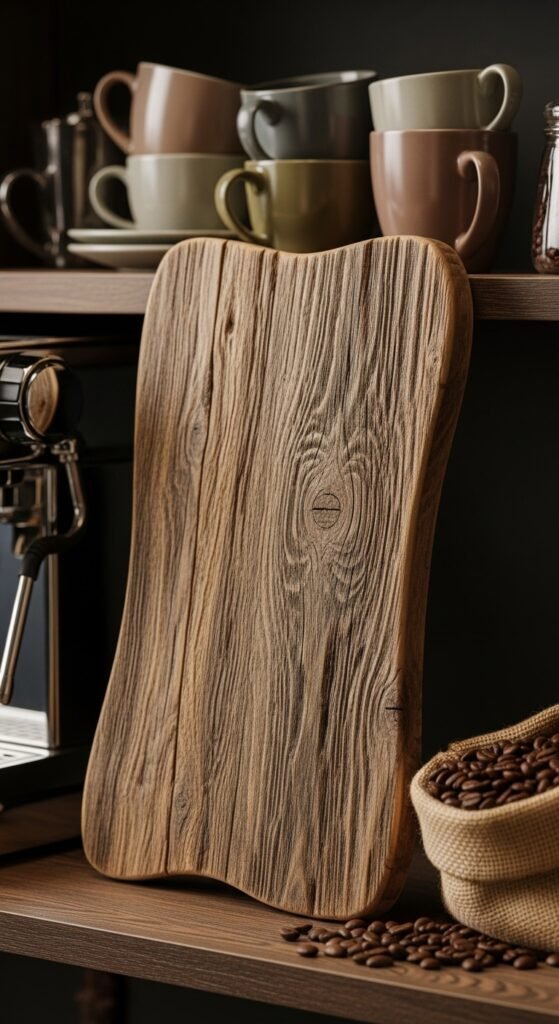
9. Rustic Wood and Green Combo
Wood balances bold green shades. Use cutting boards, crates, or trays. Pair them with greenery or green napkins. This combo works well for food displays. Borrow items from your kitchen rather than buying new. The mix feels grounded and welcoming.
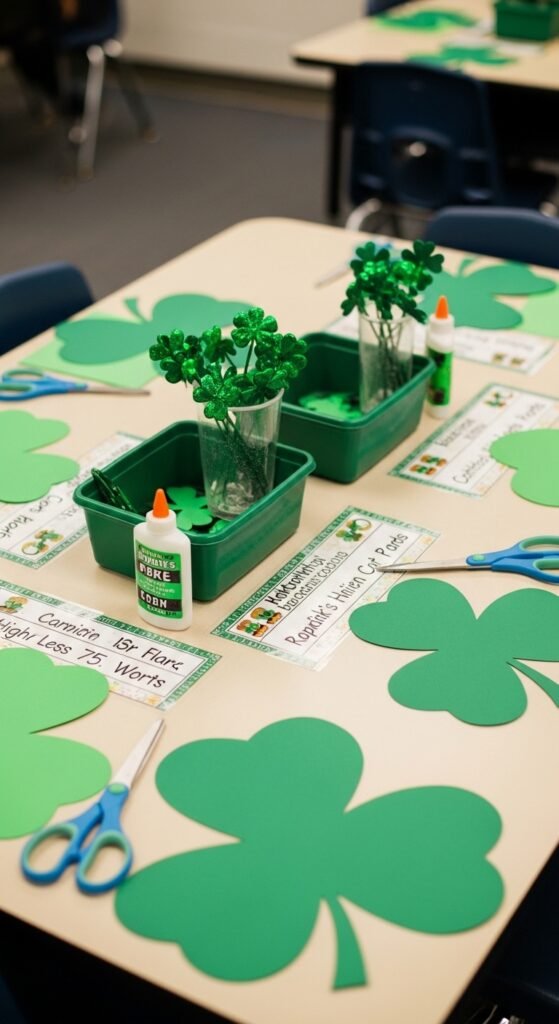
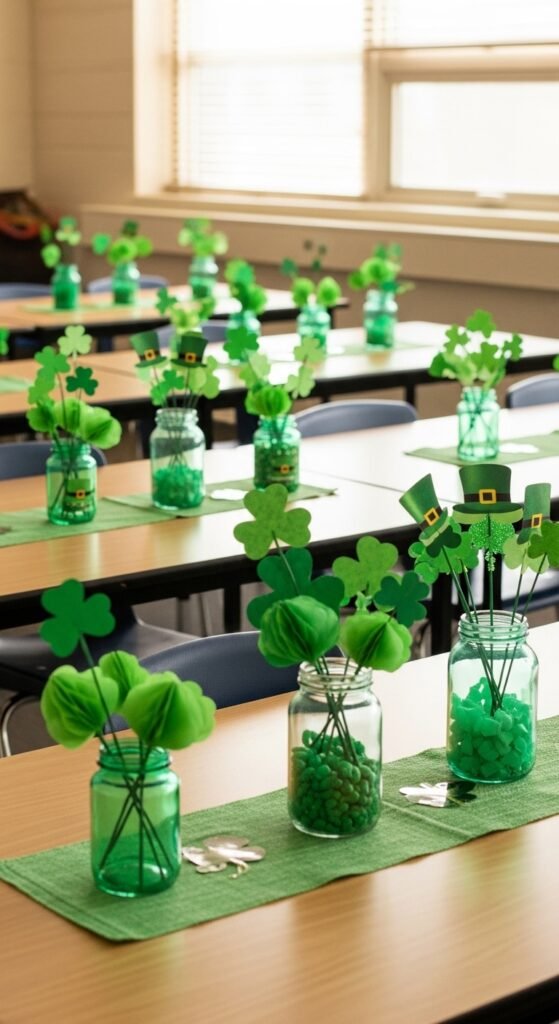
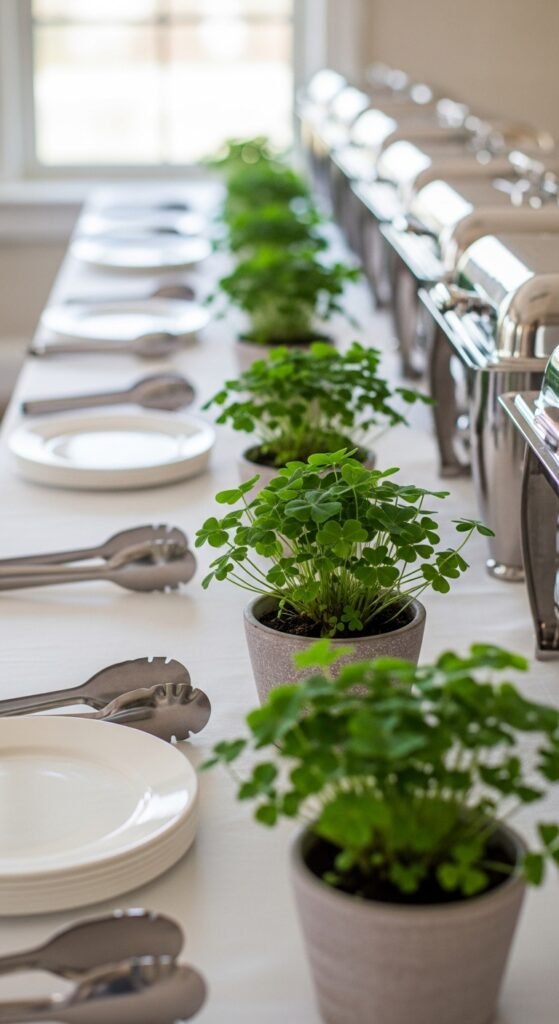
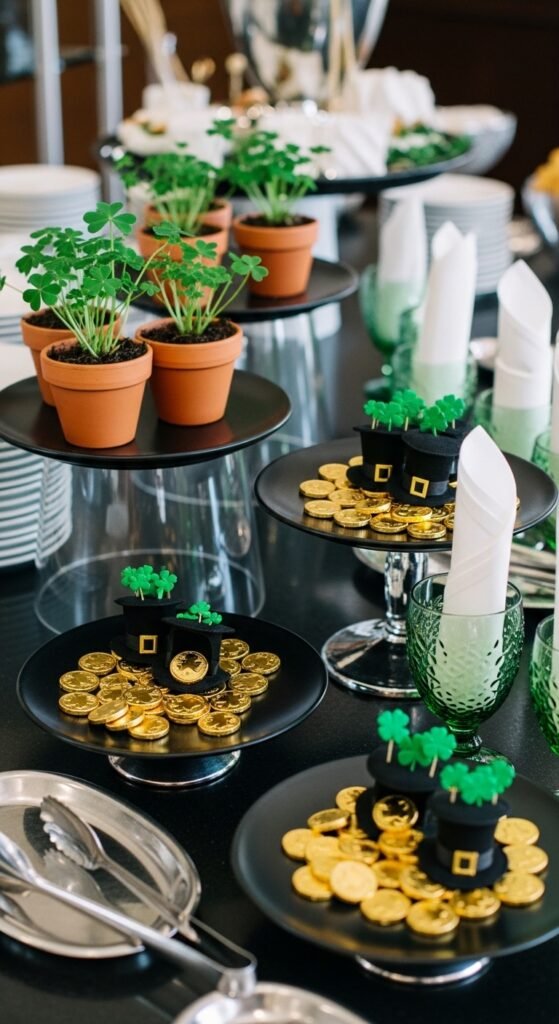
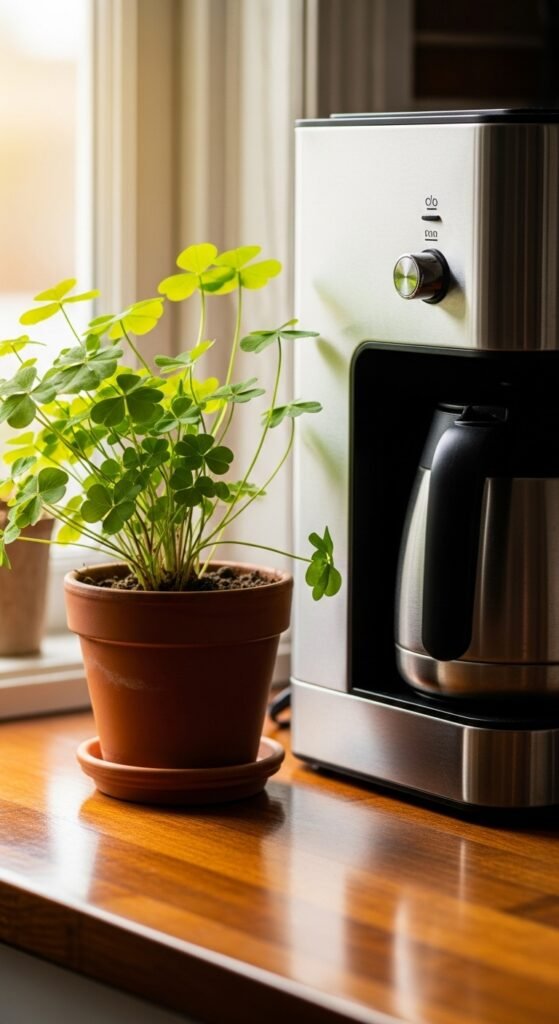
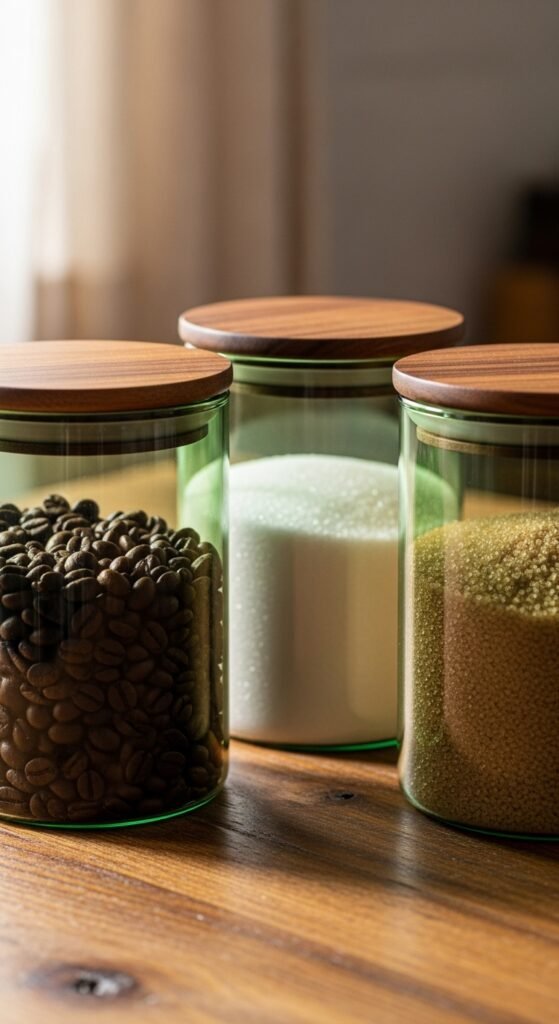
10. Mini Greenery Pots on Tables
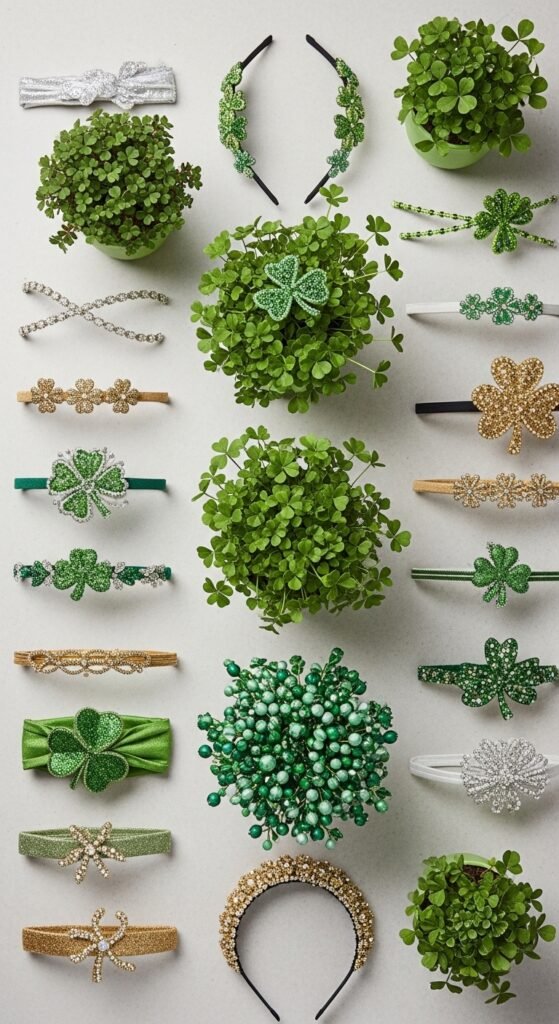
Small potted plants bring life to tables. Use faux or real options. Wrap pots with green paper or twine. Place one per table or cluster three together. After the party, reuse them around the house or gift them to guests.
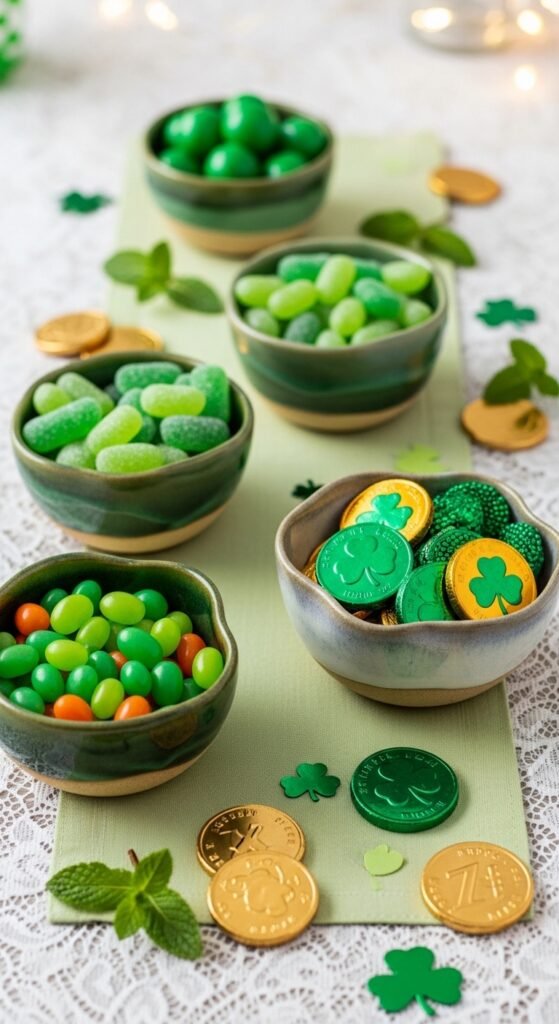
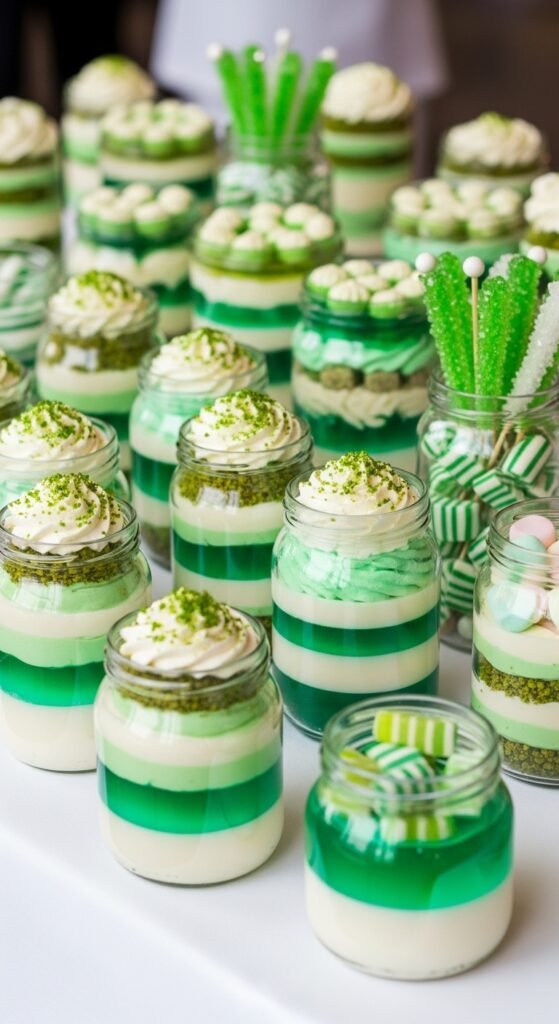
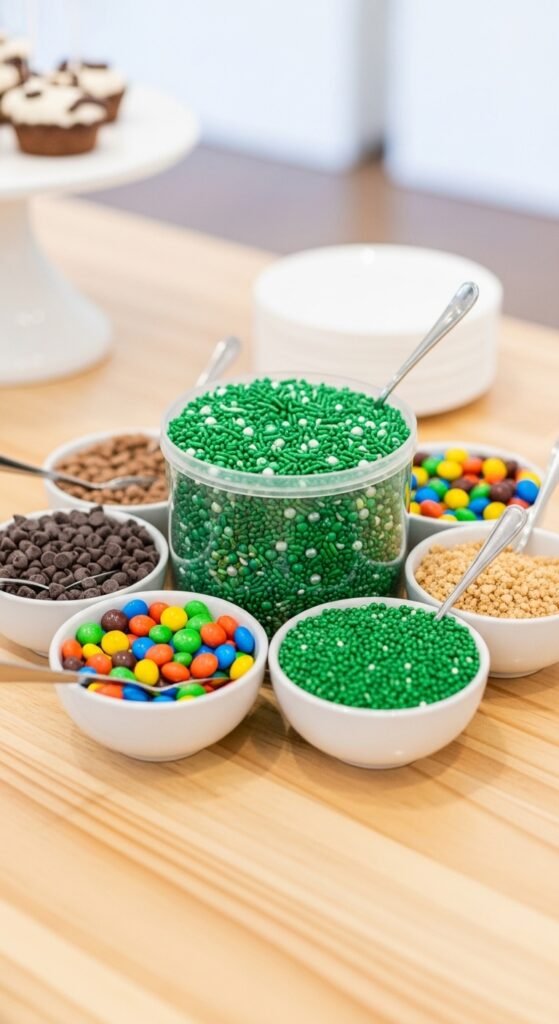
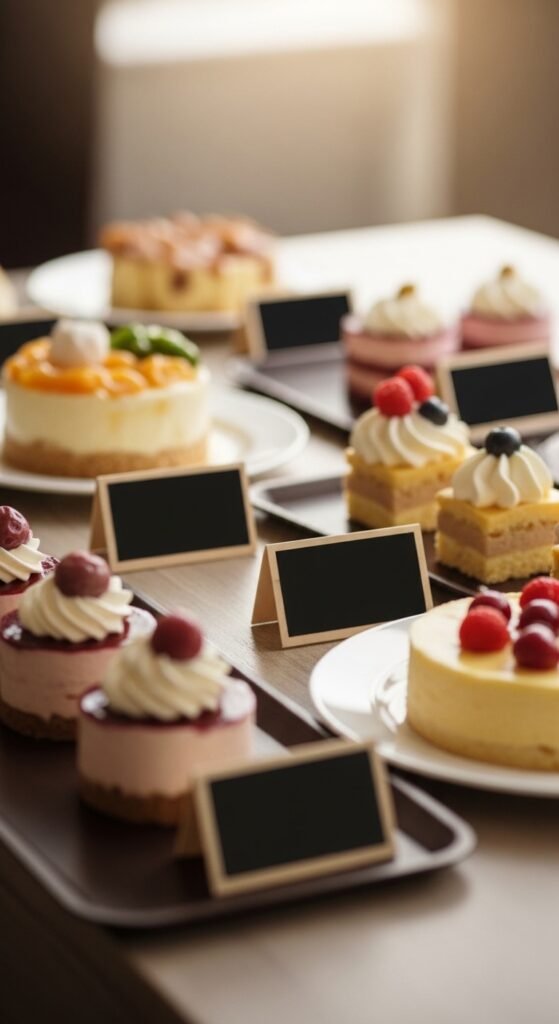
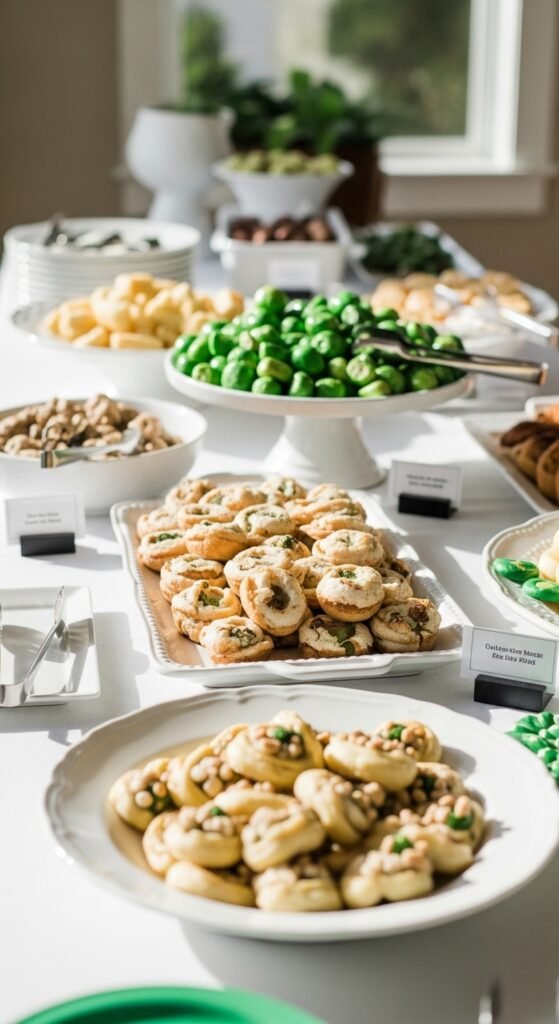
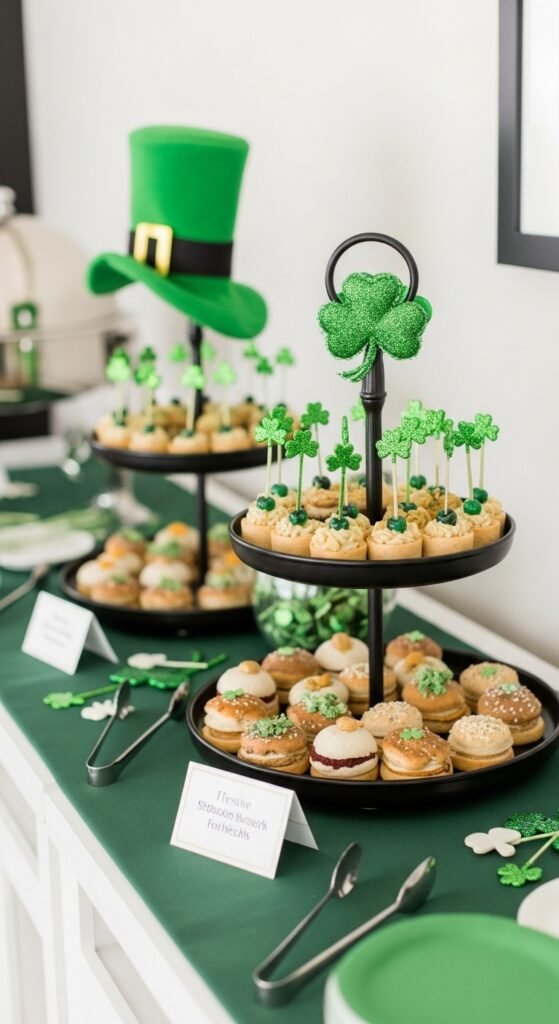
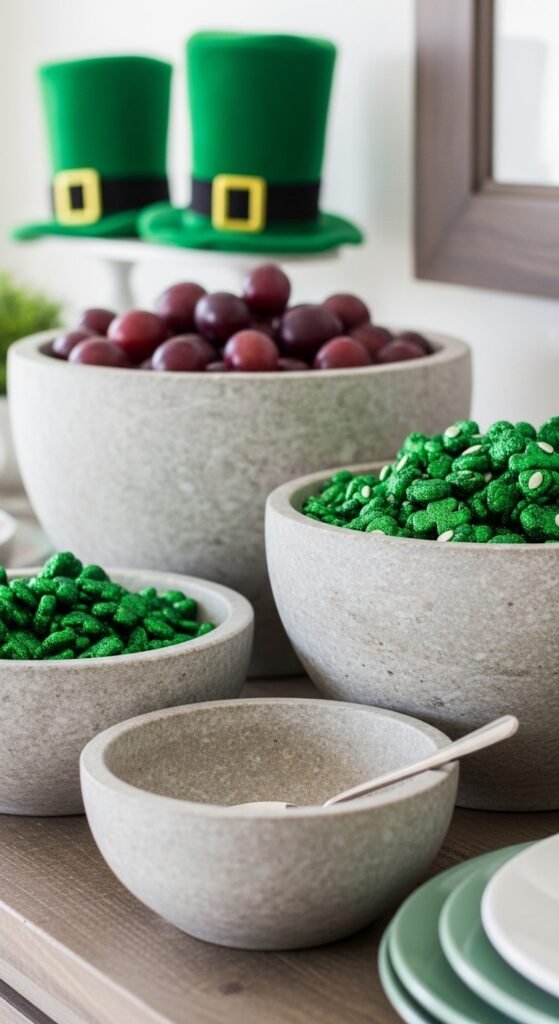
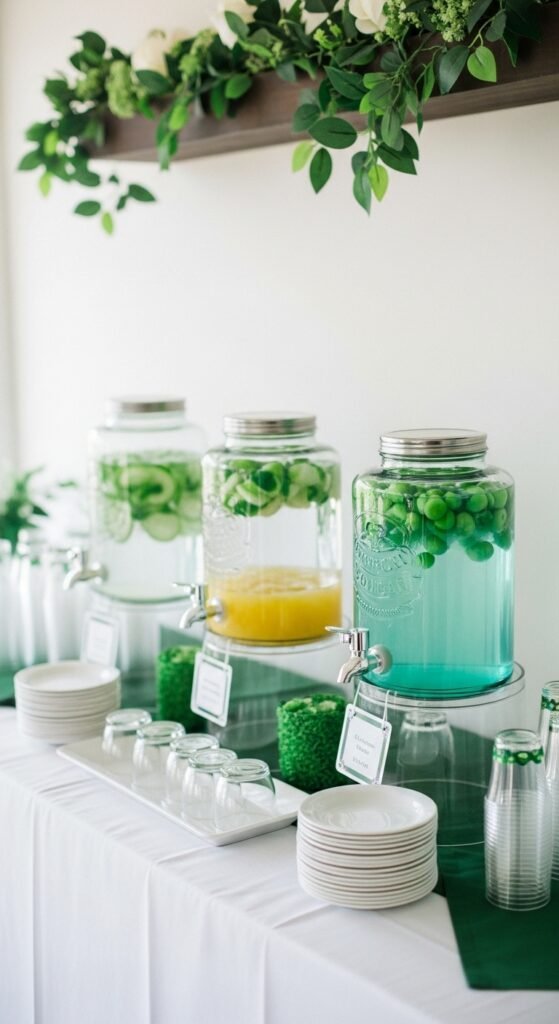
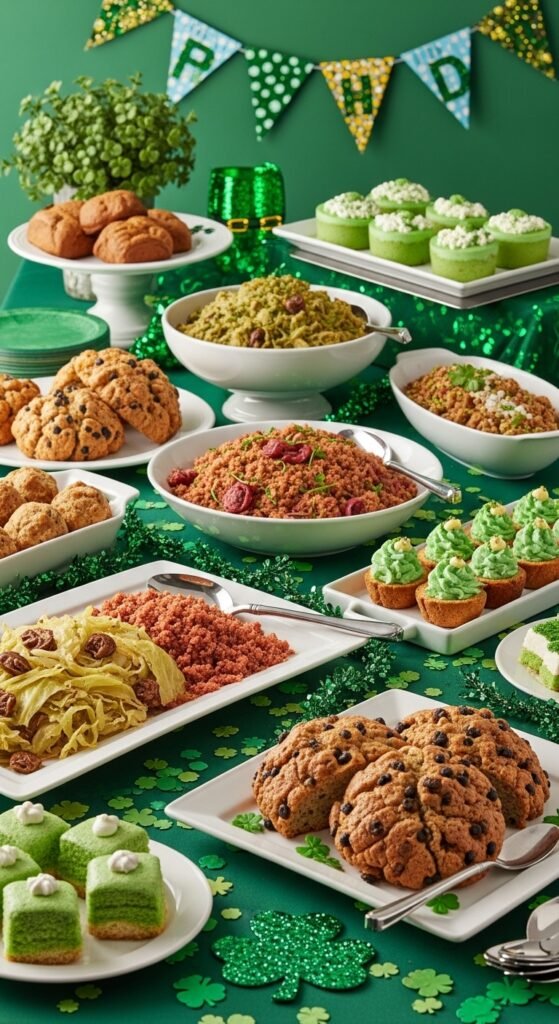
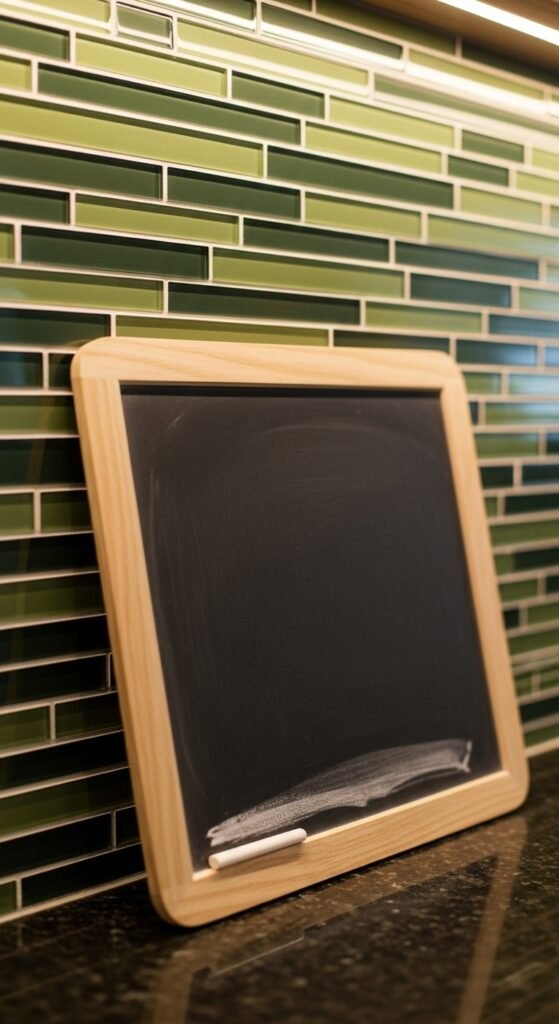
11. Coordinated Snack Labels Area
Keep snacks grouped in one zone. Use matching bowls in white or clear styles. Add green napkins underneath. This keeps the table tidy and makes serving easier. It also keeps the decor focused rather than scattered.
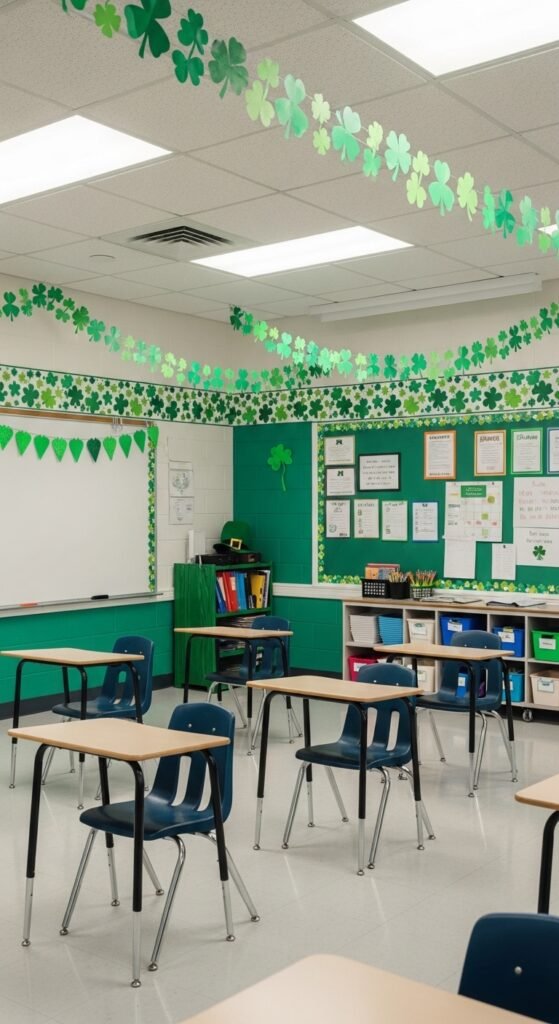
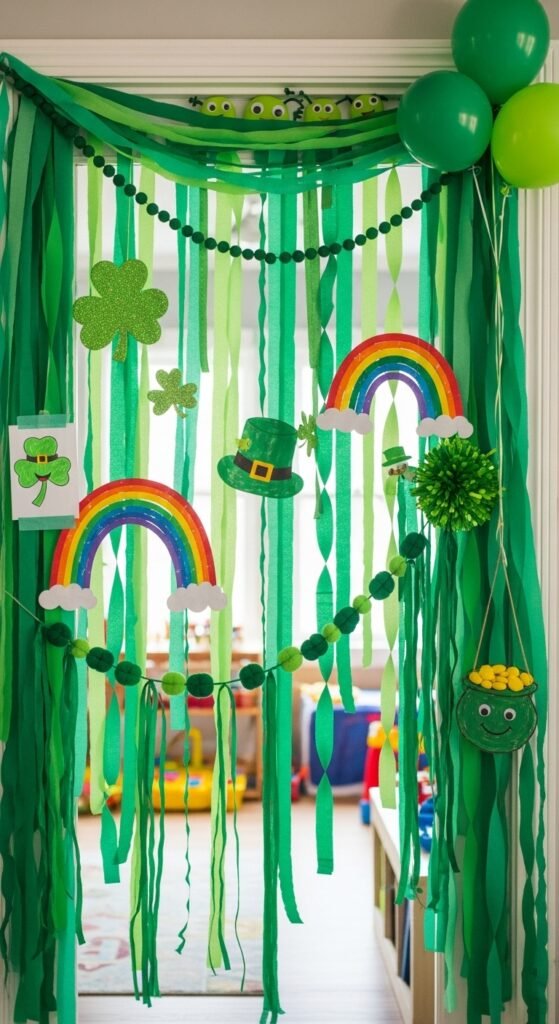
12. Green Streamers for Ceiling Corners
Ceiling corners are often empty. Streamers draw the eye upward. Twist two shades together for depth. Attach them lightly so they drape rather than pull tight. This adds movement without blocking light.
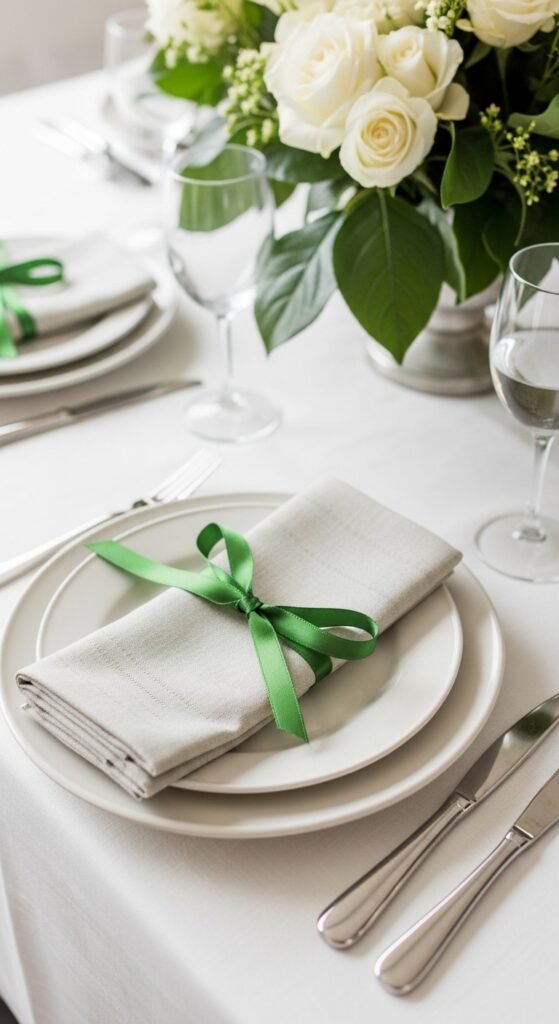
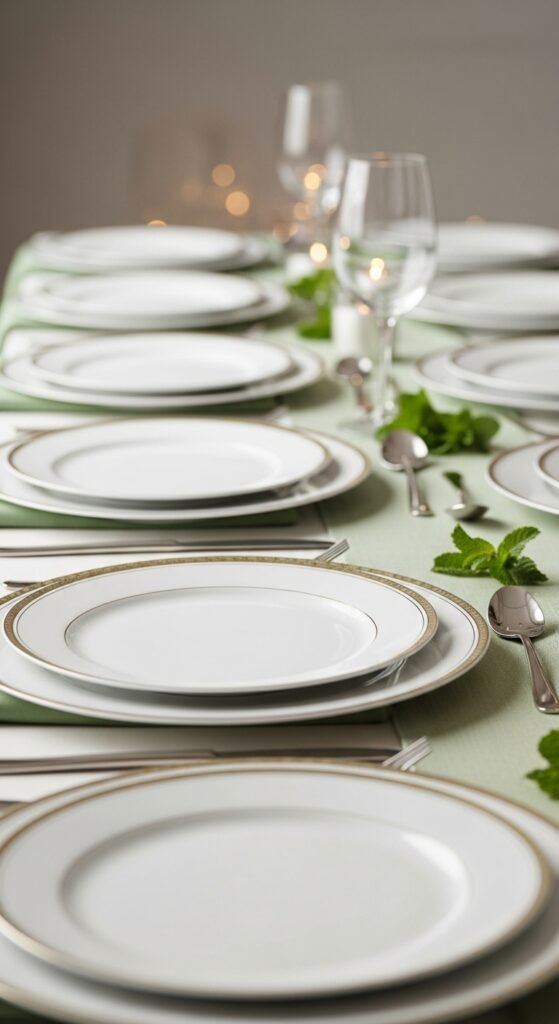
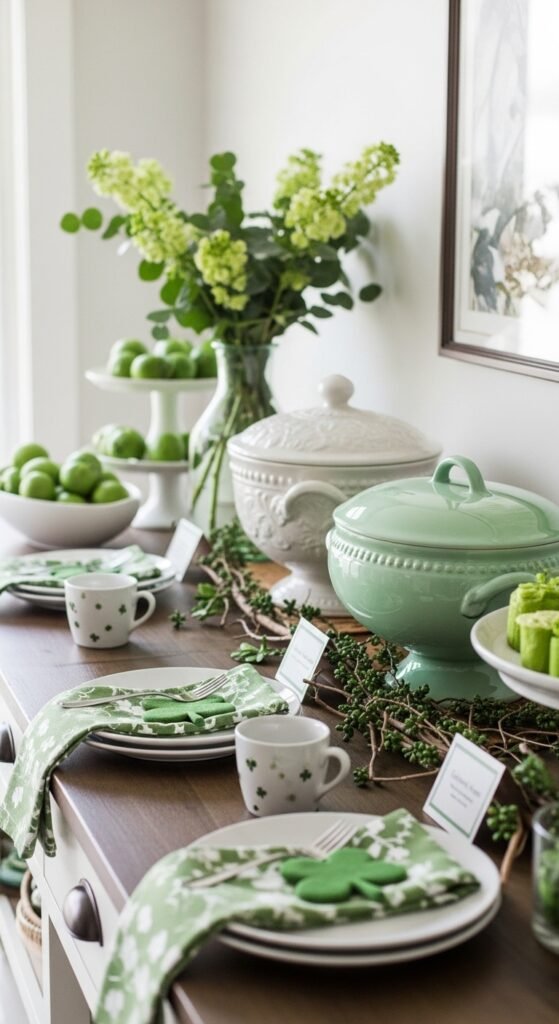
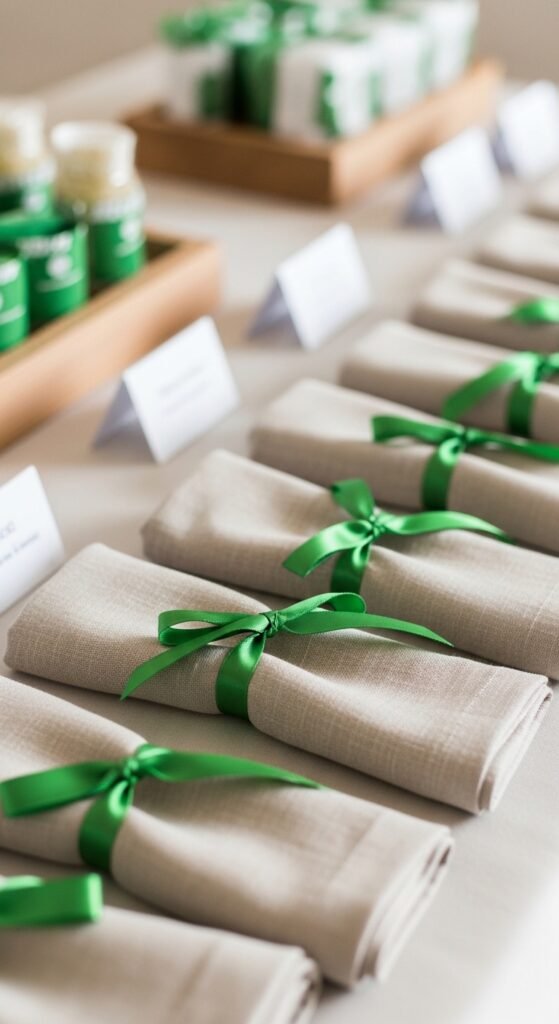
13. Neutral Plates with Green Napkins
Simple plates let accents shine. Fold green napkins neatly or wrap them with twine. This setup looks planned without extra cost. It also works well for both casual and more dressed-up gatherings.
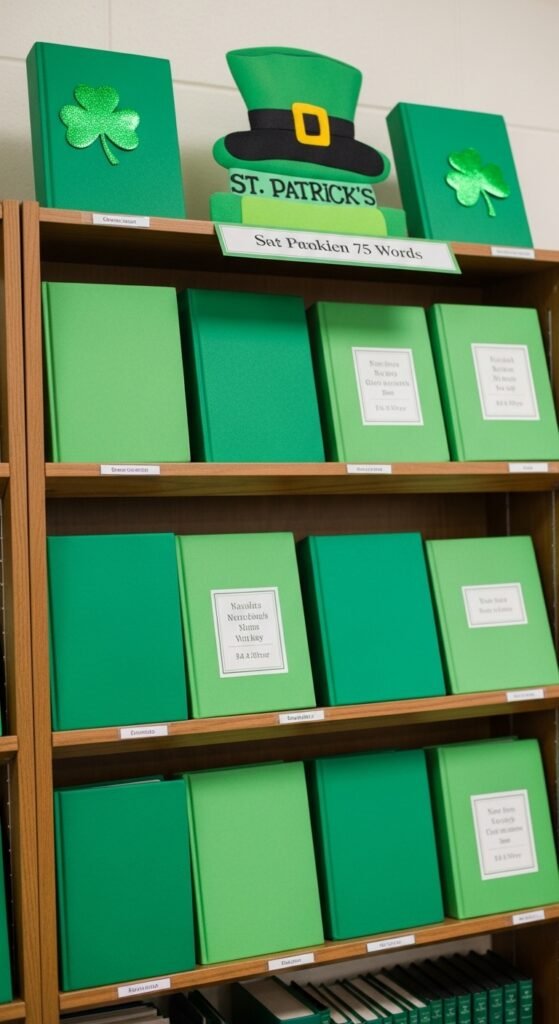
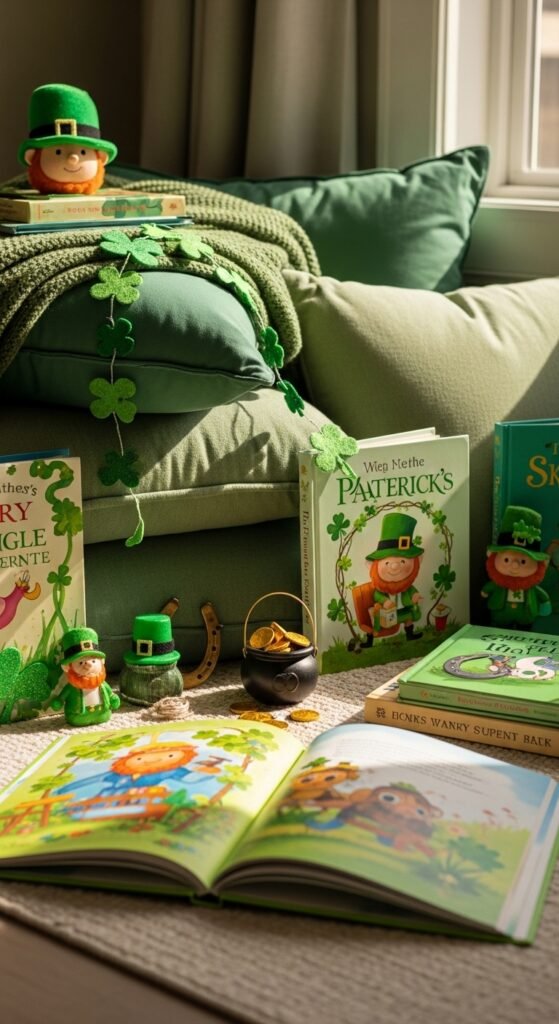
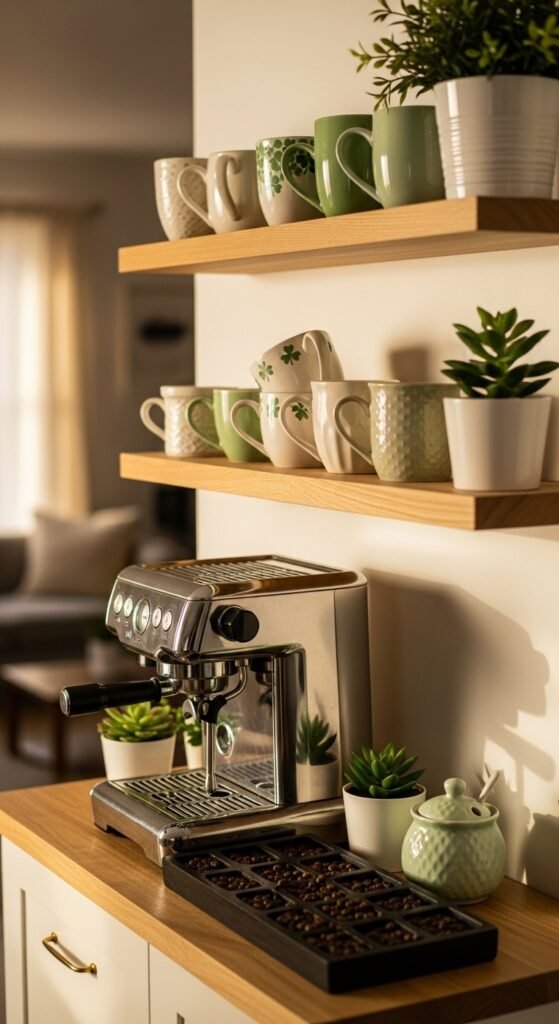
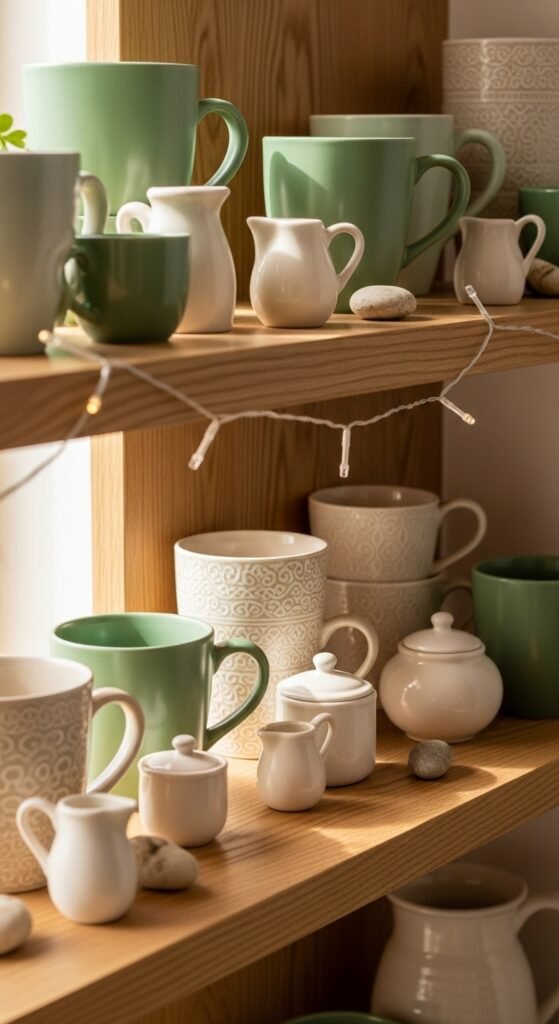
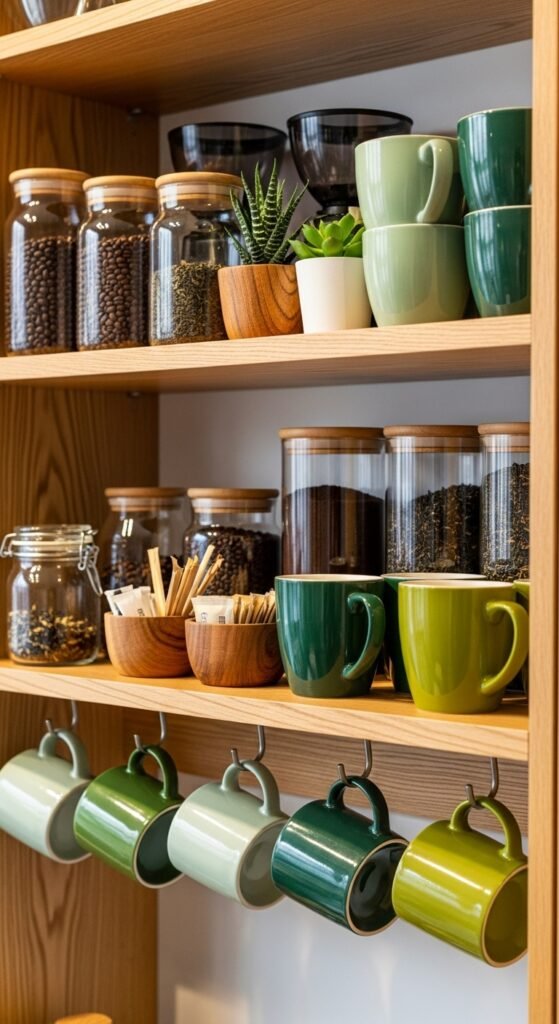
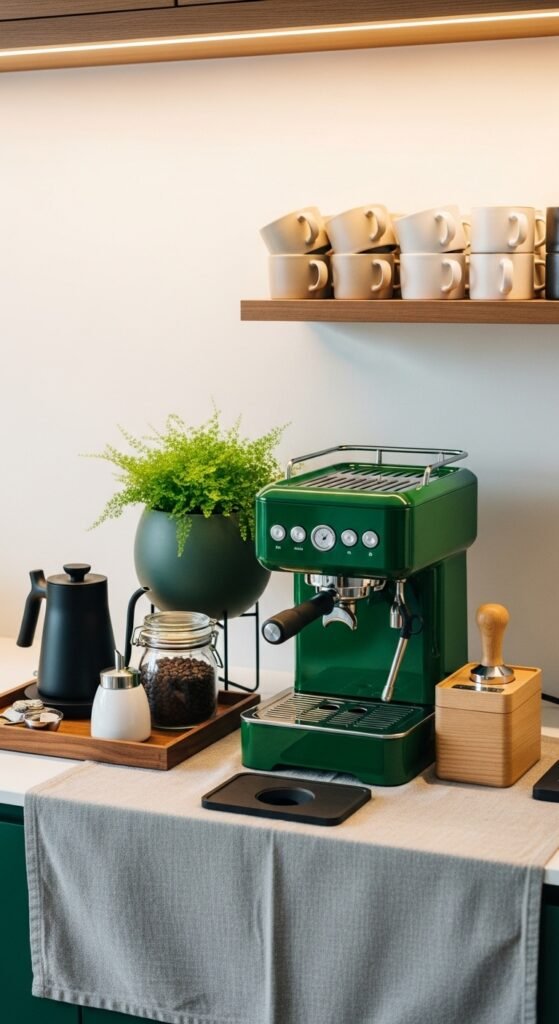
14. Wall Shelf Decor Refresh
Swap everyday shelf items with green books, plants, or small decor. Keep spacing even. Avoid filling every inch. This small change spreads the theme beyond tables and makes the room feel cohesive.
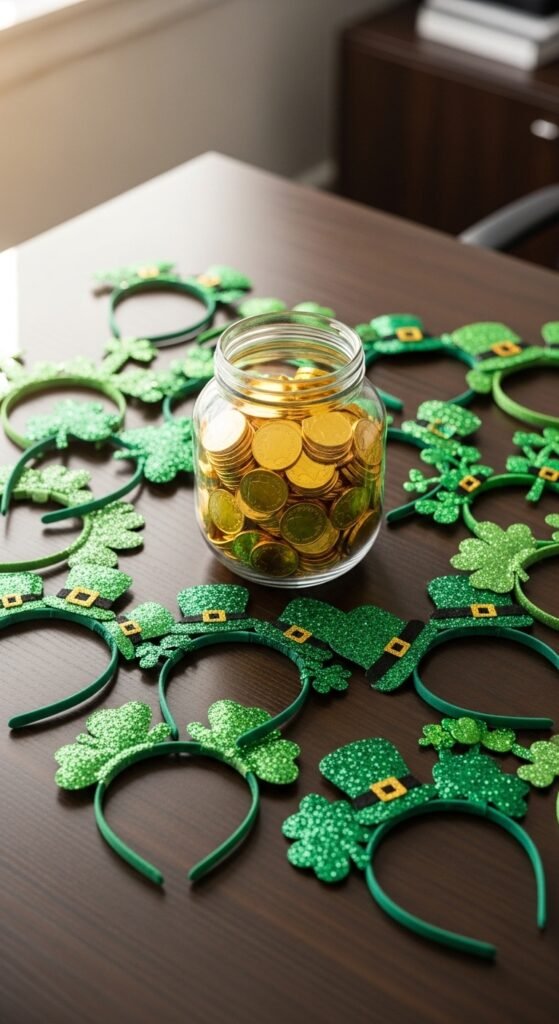
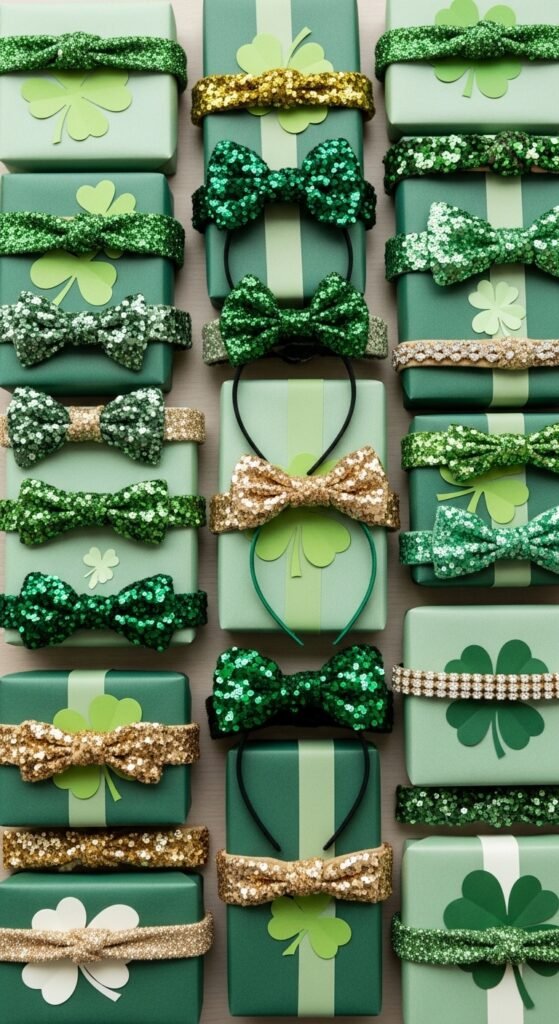
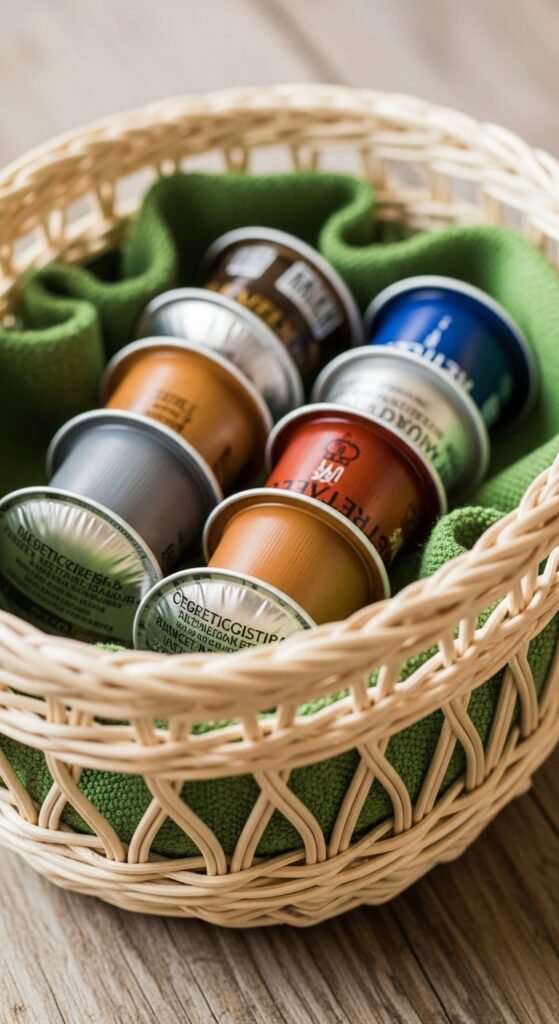
15. Coordinated Party Favor Basket
A favor basket keeps items organized. Use a green-lined basket near the exit. Fill it with simple treats or small decor pieces. This feels thoughtful without adding work during the party.
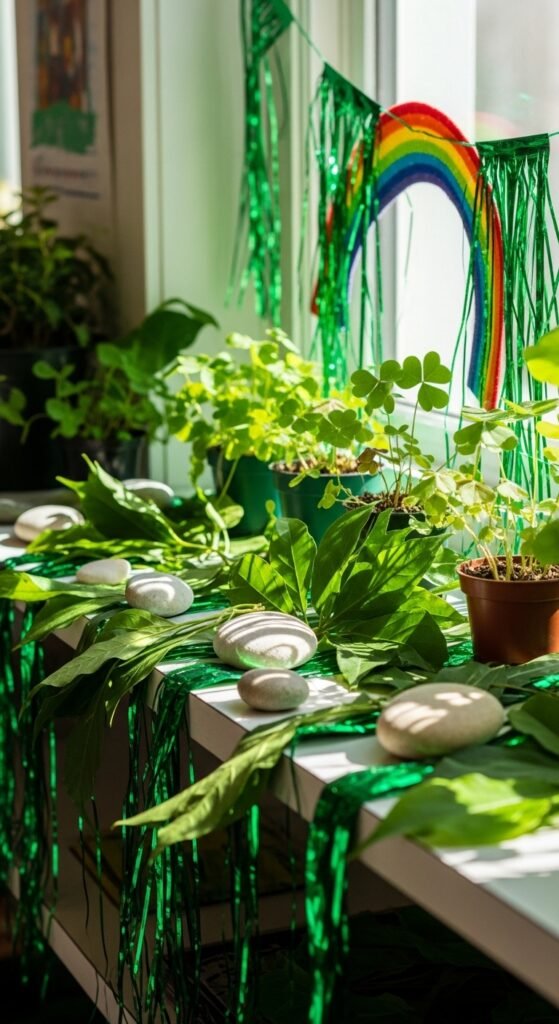
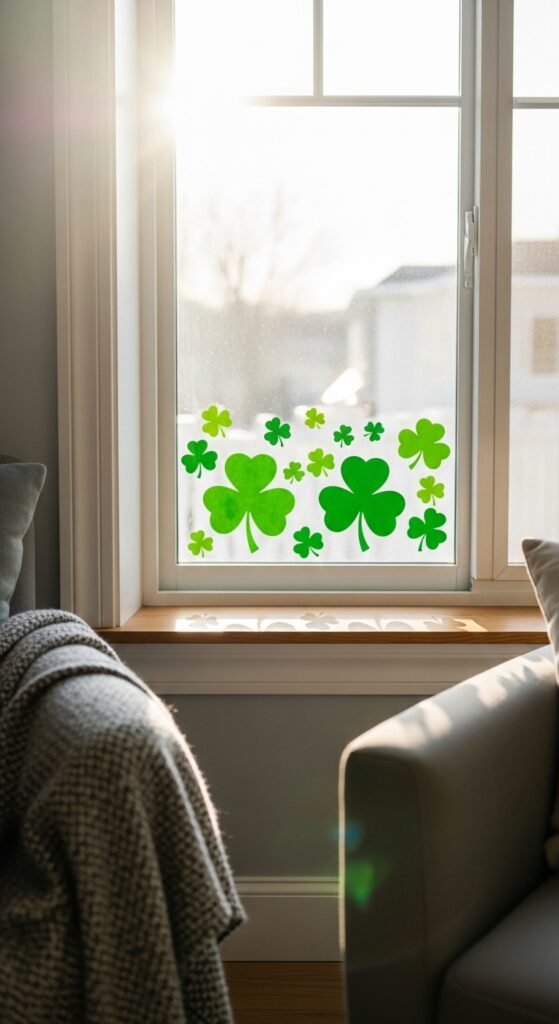
16. Window Sill Green Accents
Windows frame light. Add small green items like candles or plants. Keep them low so light still flows in. This detail ties the room together quietly.
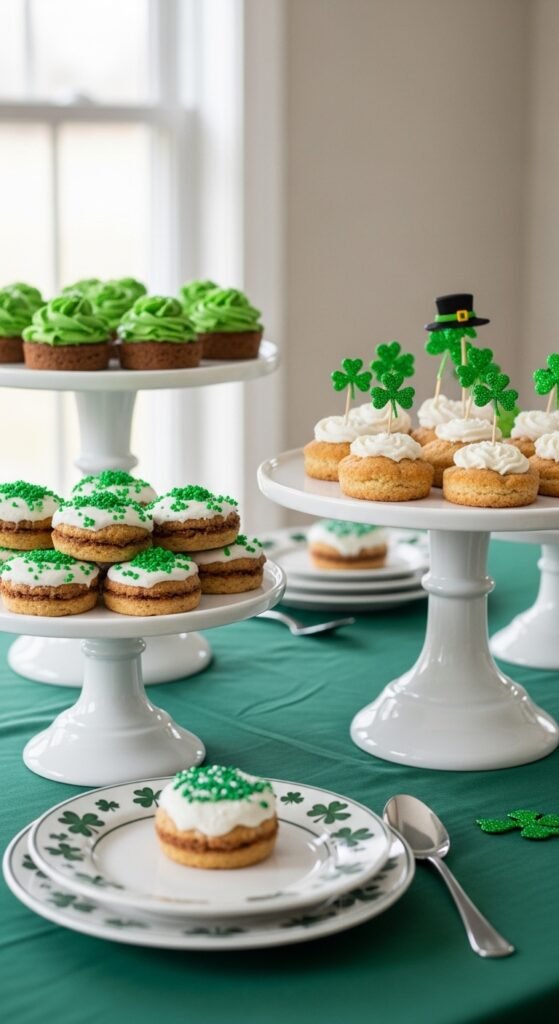
17. Table Height Variation Decor
Mix tall and short items on tables. Think candles, small plants, and trays. This keeps the setup from feeling flat. Limit each table to three main pieces so it stays easy to move around.
18. Soft Green Area Rug Accent
If you own a green rug, roll it out. Rugs anchor seating areas. They also define zones in open spaces. This makes the layout feel intentional without adding decorations everywhere.
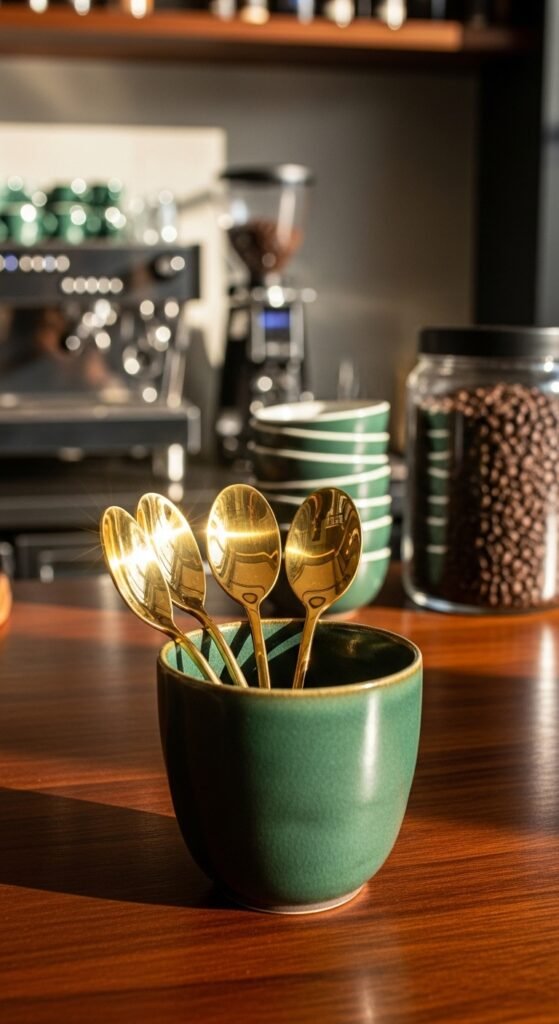
19. Coordinated Serving Utensils
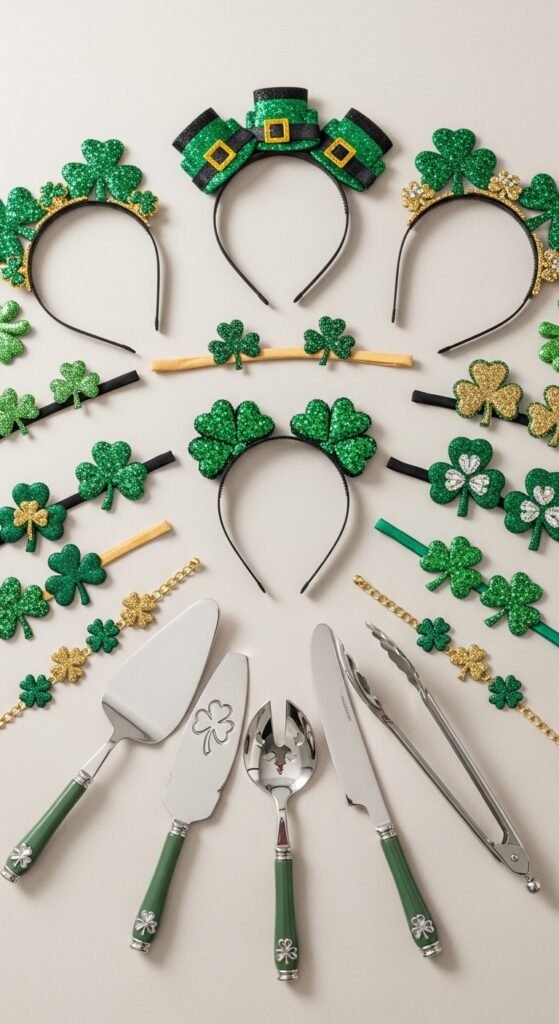
Choose matching serving spoons or tongs. Place them neatly on trays. Small details like this help the setup feel orderly and calm.
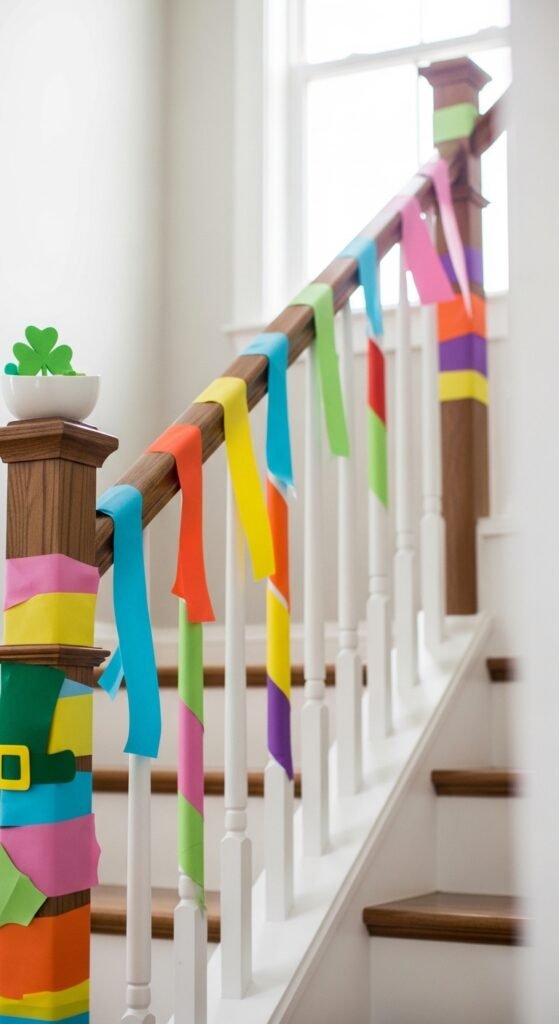
20. Green Fabric Chair Ties
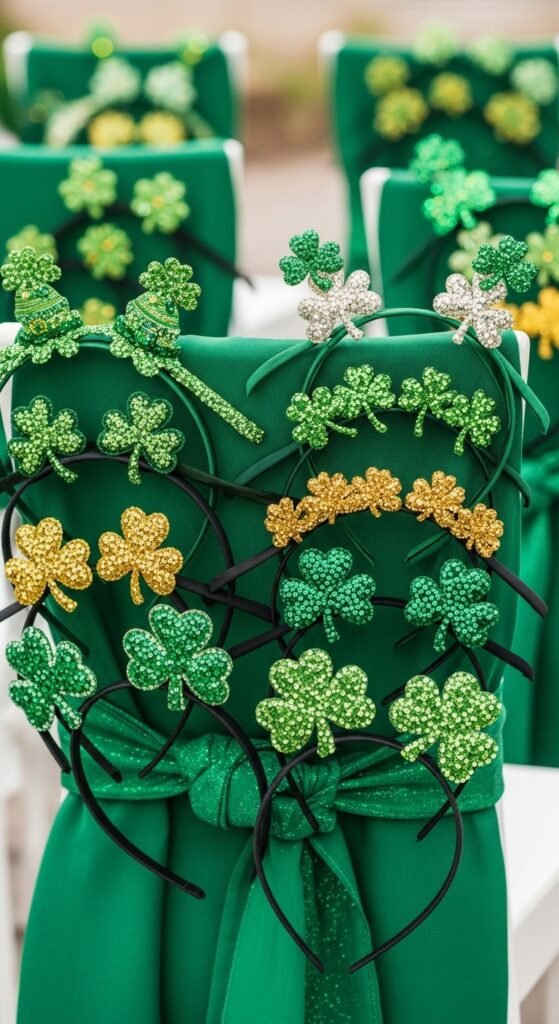
Tie green fabric strips around chair backs. Keep knots loose. This adds color at seating height. Use scrap fabric or ribbon for savings.
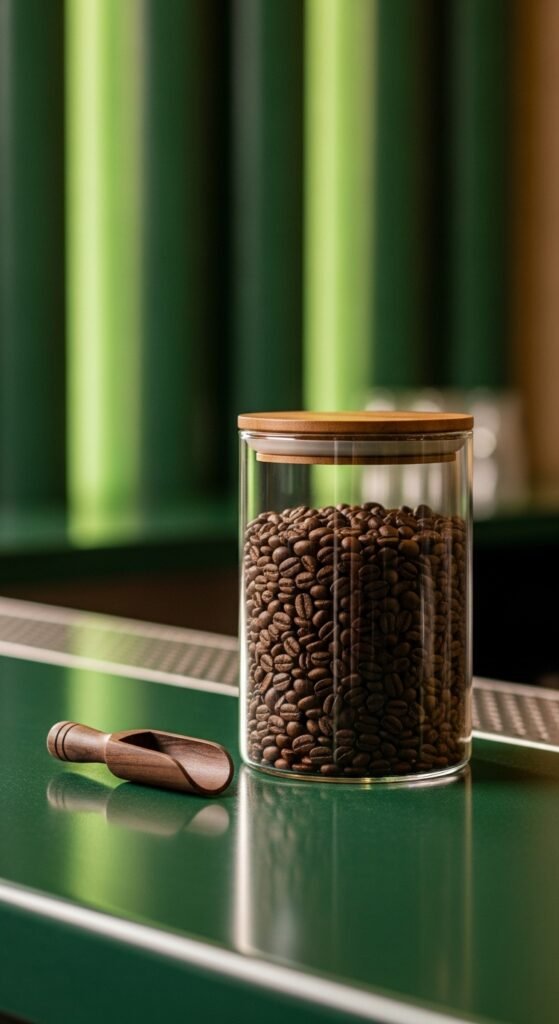
21. Minimal Centerpiece Bowls
Fill bowls with green decorative items like stones or faux moss. Keep the bowl low so guests can talk easily. This works well on dining tables.
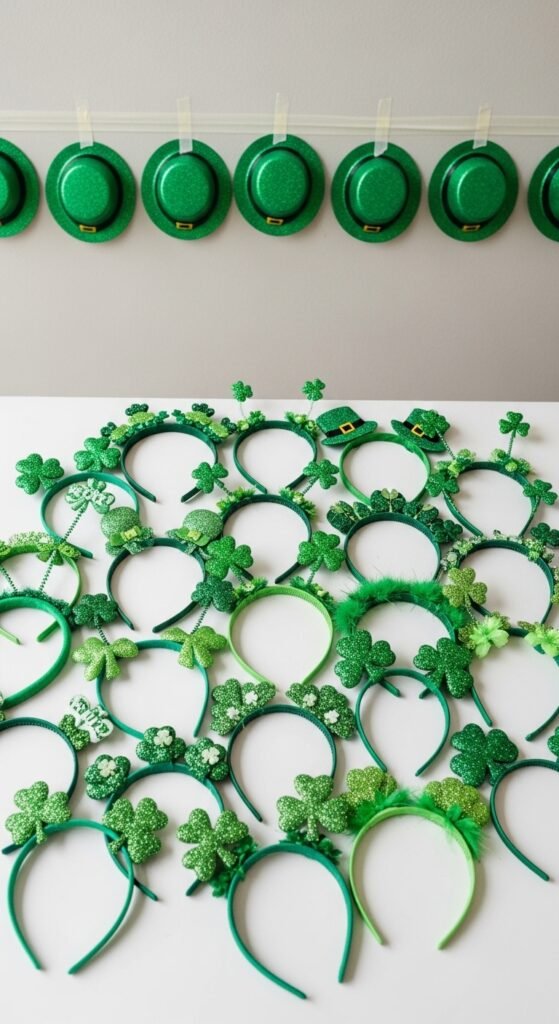
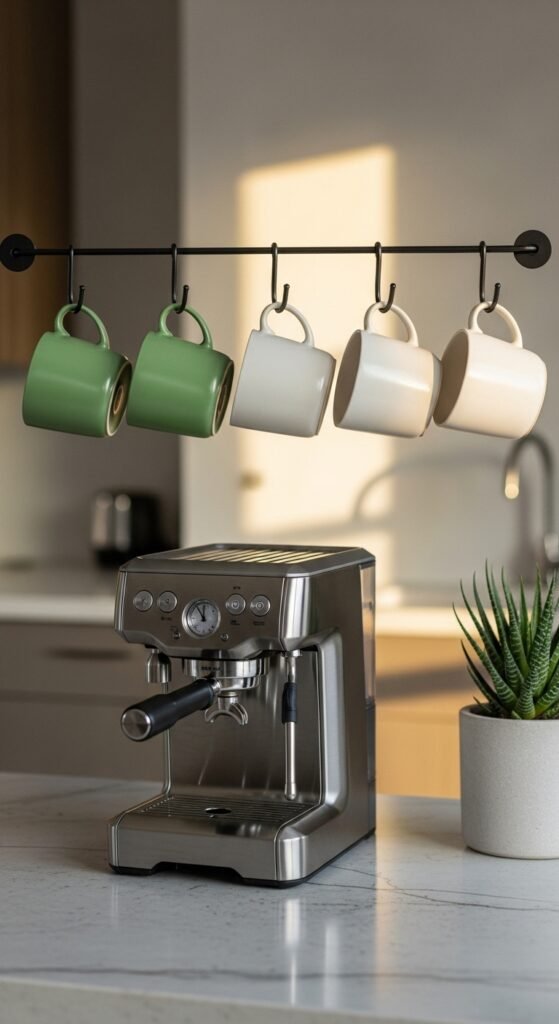
22. Green Wall Hooks Display
Hang hats, bags, or decor on hooks. This keeps items off tables and adds visual interest to walls. Choose hooks that match the color theme.
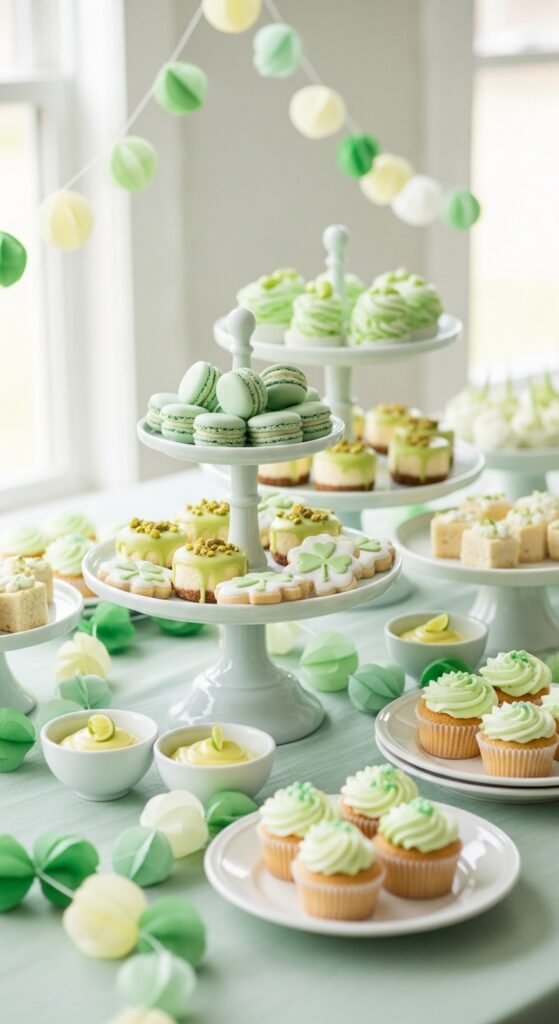
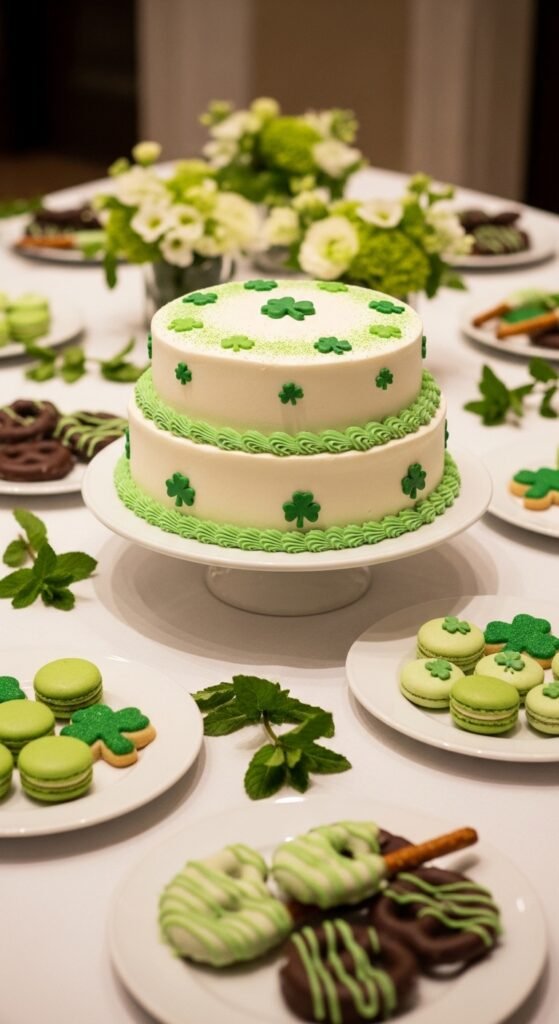
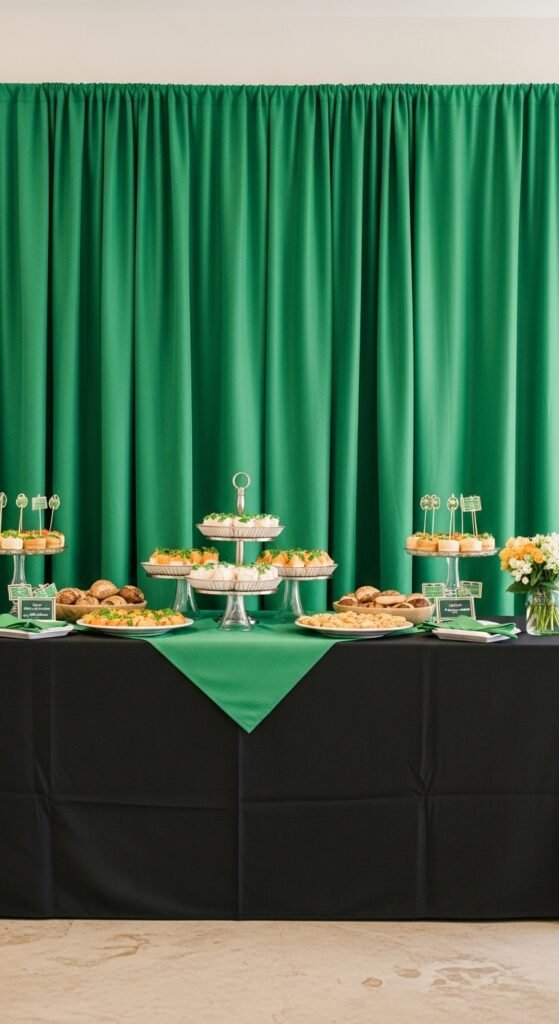
23. Coordinated Dessert Table Backdrop
Use fabric or paper behind the dessert table. Keep it simple. One solid color works best. This frames the table and makes treats stand out.
24. Green-Themed Shelf Baskets
Swap regular baskets with green-lined ones. Use them to hold napkins or small items. This spreads the theme without adding clutter.
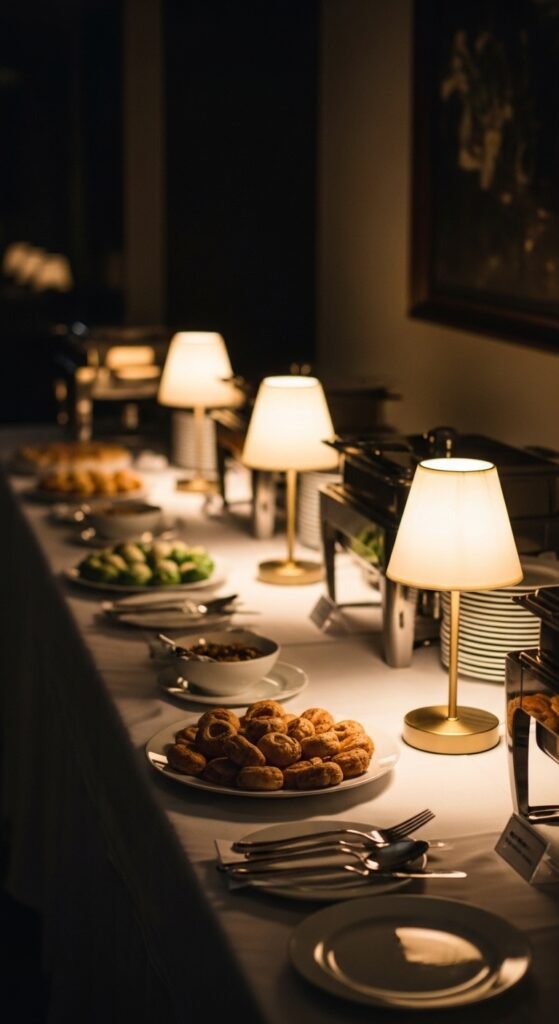
25. Floor Lantern Corners
Place lanterns in empty corners. Add green candles or filler inside. This softens edges of the room and balances table decor.
26. Consistent Color Flow Throughout
Walk through your space before guests arrive. Check that green accents appear in every area. Not too much. Not too little. This final step pulls everything together and helps the party feel complete.
Conclusion
A St Patrick’s Day party feels right when decor works as a group, not as single pieces. By repeating colors, mixing textures, and using everyday items in simple ways, you create a space that feels planned and welcoming. These ideas focus on balance, comfort, and easy setups that don’t demand extra spending. Choose a few that fit your space, layer them thoughtfully, and enjoy a party setting that feels calm, festive, and ready for guests.